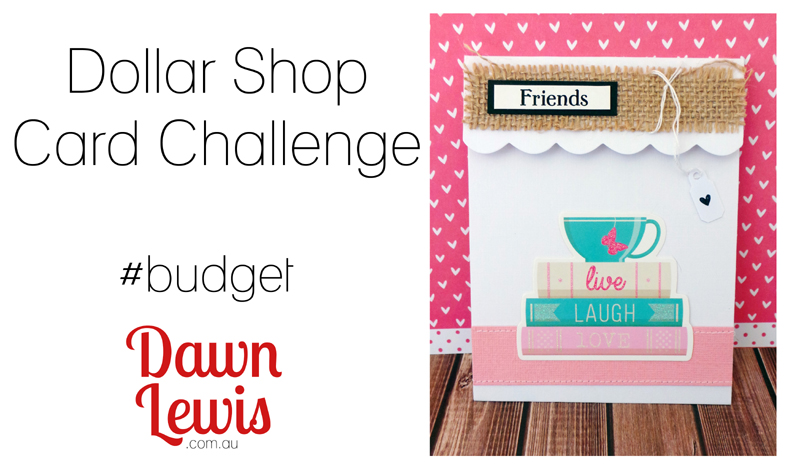
This week I found myself wandering the aisles of my local dollar shop (which I try not to do too often, because as my clever husband declared once “It’s a trap!”), and boy have they stepped up their game in the papercrafting department!
You see … I am not a fan of cheap and nasty supplies. There are some products that you look at on a card and you just know it came from the cheap & nasty range of a discount store. Ribbons and washi tape that are too plastic-y, die-cuts/stamps/stickers with spelling errors, things that are just flat out crooked or oozing glue … not a fan. What I am a fan of is cheap & cheerful! That is what I found at my local store this week. The difference is about quality … so let’s look at what I started with.
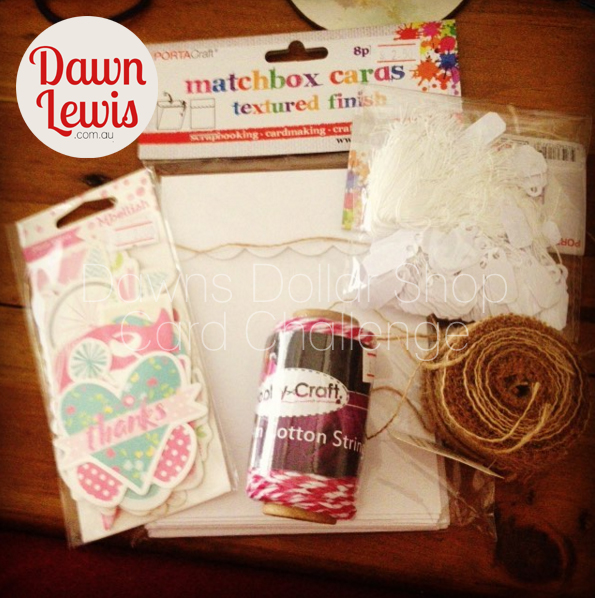
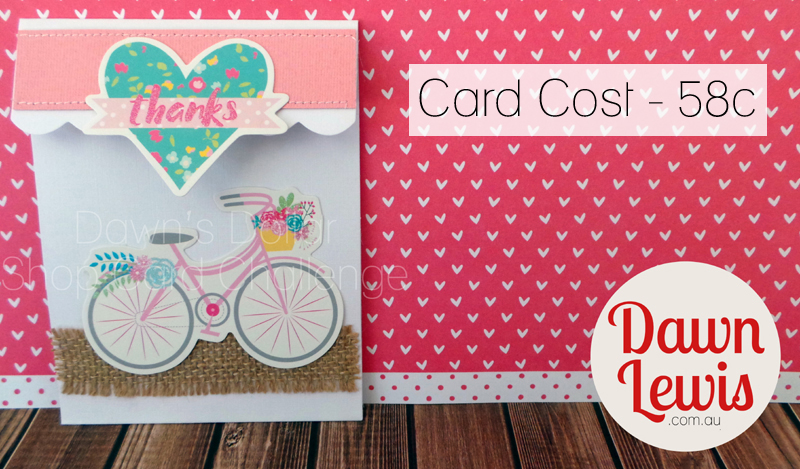
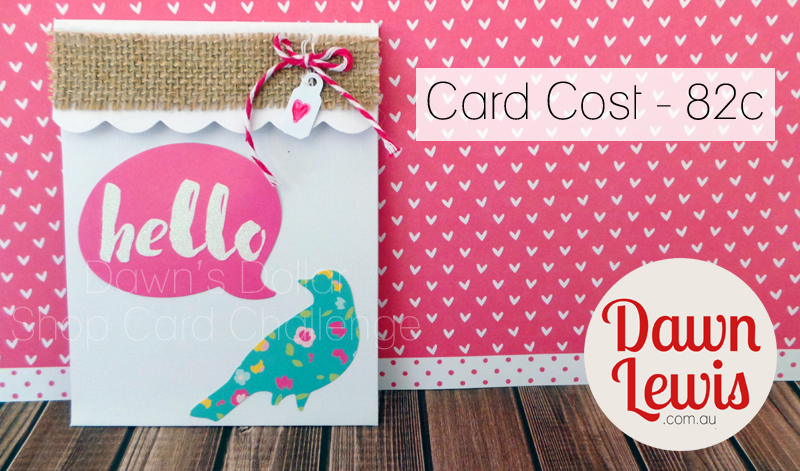
Pack of 8 tri-fold cards & envelopes $2.50 = 31c ea
Pack of 24 die-cuts $2 = 8c ea
Pack of 50 mini tags $2 = 4c ea
Pack of 2m hessian ribbon $2 = 11c per card
Pack of 24m butchers twine $1.50 = 8c per metre
I sat down Thursday morning to have a bit of a planning session … how was I going to use these ingredients to make some CAS (clean & simple) cards, without using too many extra goodies from my stash. You can find the recording of that live Periscope video in the archive by CLICKING HERE. Then I sat down to make all of the cards. I confess that it would have been faster if I’d used a tape runner, and I have sped up the video to make it less painfully slow & boring to watch.
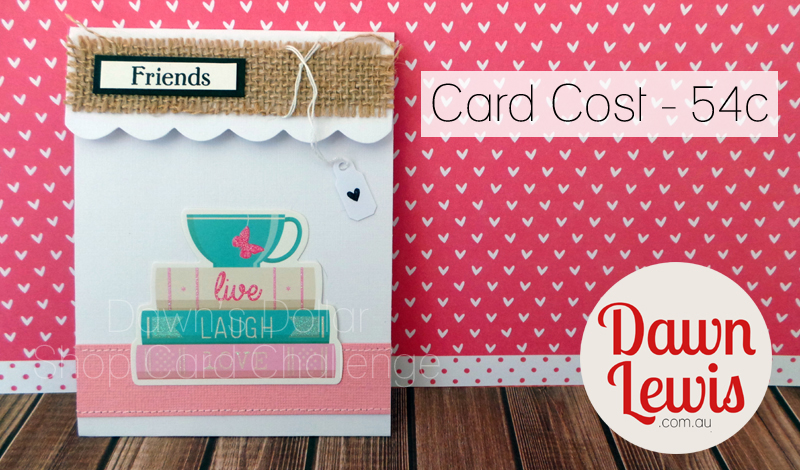
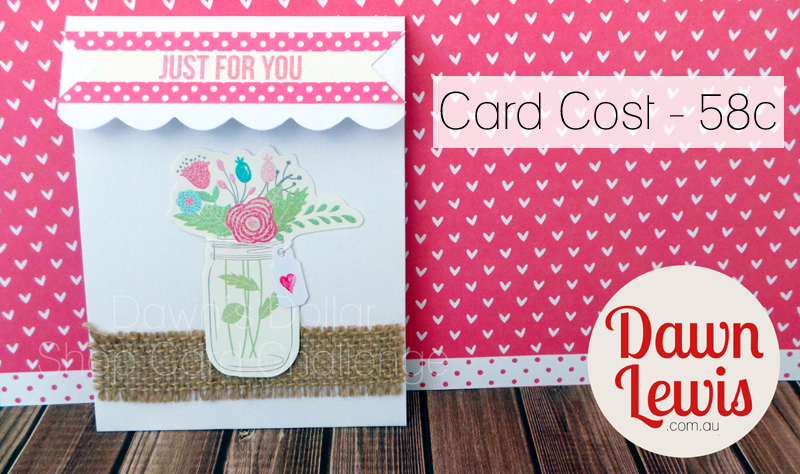
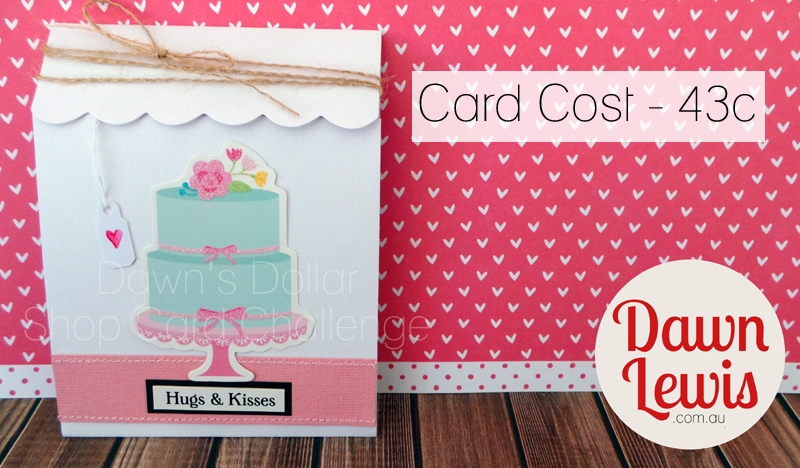
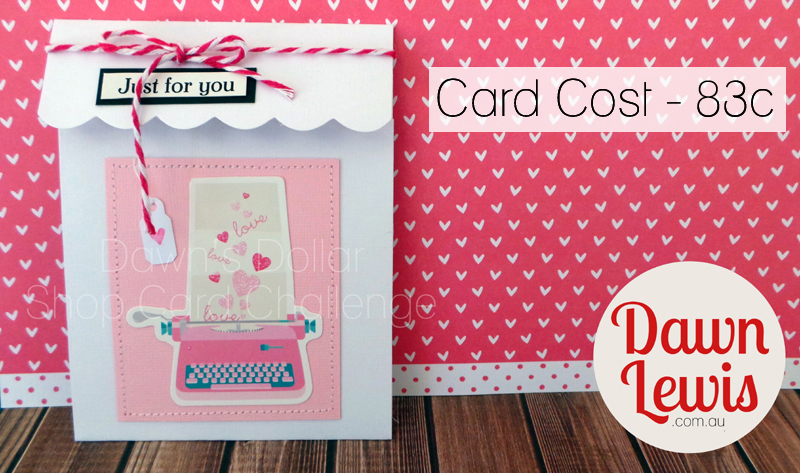
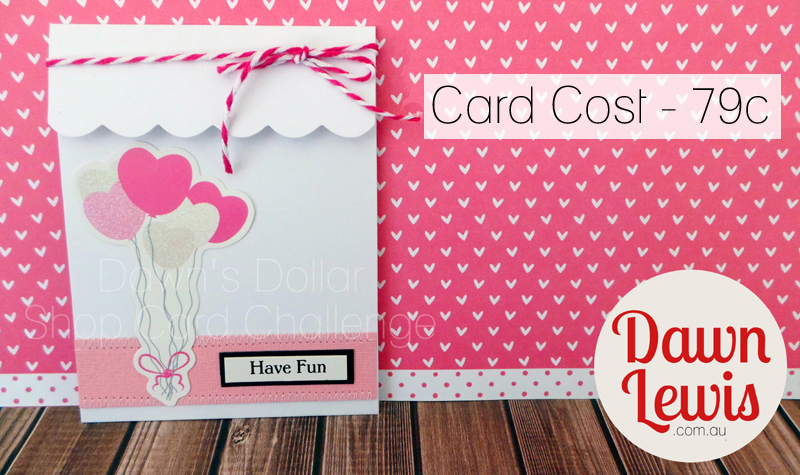
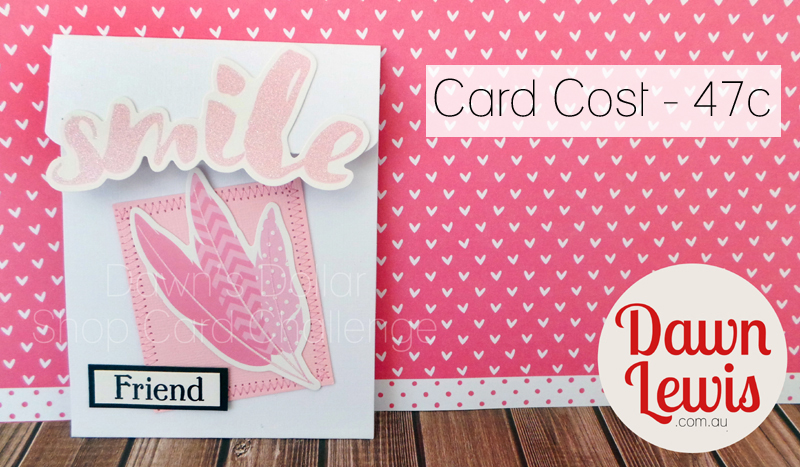
The extras I used were 2 pieces of pink cardstock leftover from a previous project, machine sewing and one stamp. I had hoped to stamp a pink heart onto the mini tags, but the cardstock was quite glossy and only Staz-on ink worked. So … I used that for one, then drew in a freehand pink heart with a pink Copic marker on the others. I used a few greetings from my quick greetings box (you can see that video HERE), all made from Darkroom Door Word Strips mounted on black cardstock. Other than that, my only need was for double sided tape! So now, let’s have a look at each card, and the costings for each.
Altogether the cost for these 8 cards came to $5.04. I have more than enough mini tags, die cuts, hessian ribbon & twine left to repeat this project if I were to purchase another pack of cards & envelopes.
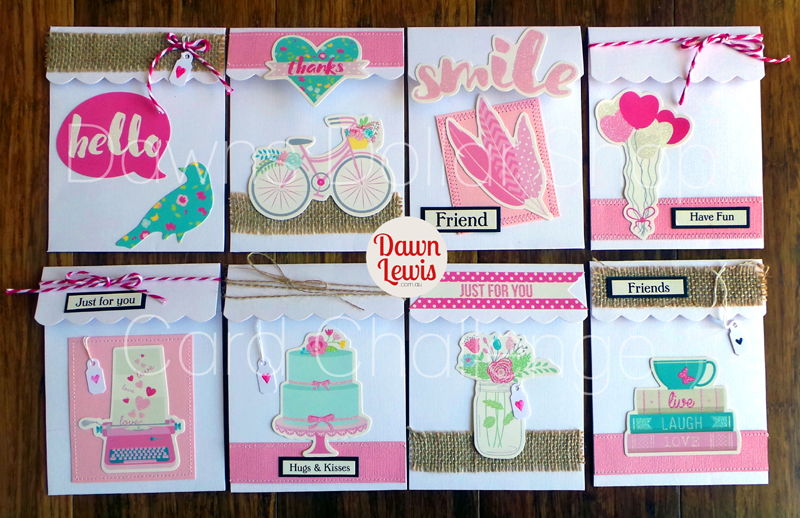
You can watch the construction video right here. I do hope you enjoyed this dollar shop project. Remember the difference between cheap & cheerful and cheap & nasty is QUALITY. You can buy great supplies if you’re on a tight budget, but cheap & nasty supplies always detract from the quality supplies you use on a card. If you want to get rid of your cheap & nasty stuff (or things that are just plain old and you don’t want to have them anymore) you can always donate to your local preschool, kindergarten or playgroup where the kids will put them to great use as they get creative.
If you’ve enjoyed this project and would like me to do this challenge again with different products … let me know!

So pretty! My favorite is the hello birds card 🙂