If you didn’t catch them last week, you can see it now! I’ve been sitting on these videos for months and months, because I’m a rule follower, and I waited until the blue jelly card had been published, then waited a couple more months before showcasing the videos 🙂 Yup … published … in Australian Cardmaking Stamping & Papercraft magazine.
Before we get into the cards, I want to share a very important tip! If you make a beautiful card for a magazine … and you think you might like to prop it up on your desk for a while to admire it … be sure to keep all open black inkpads away from your beautiful card, lest it fall face first into said inkpad. Oh yes … it did *sigh*. Silver lining … I made another one, and decided to turn on the video camera, and I’m really glad that I did! I’ll apologise now for the little jiggle … I figured out why it was doing that and have stopped it for future videos.
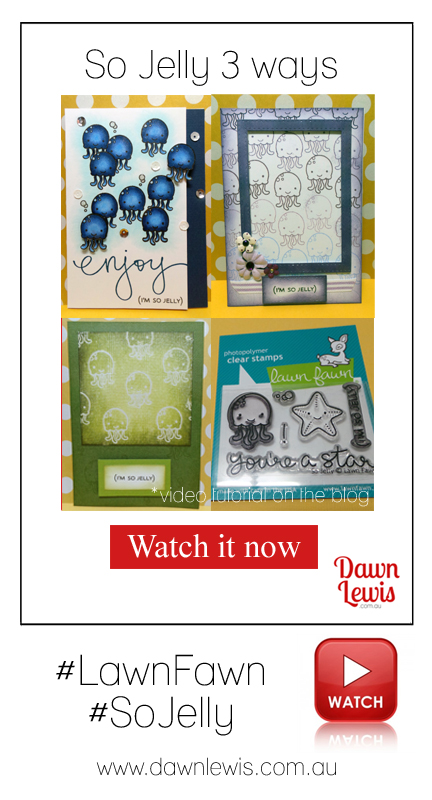
So … the purpose of this series is to show you that you how to get major bang for your buck with your supplies. This is a really small stamp set, and the bonus of small sets is that they’re super affordable! But sometimes we don’t buy the bargain set because we think we won’t get enough use out of it. Pish posh! I know I use copics a lot, but I’ve only used them in one of these videos … the other two are a copic-free zone! Now, grab a cuppa, and one of your tiny stamp sets, have a little video down-time, and start imagining how you can use that sweet little set of stamps. If you’re looking for the set I used, it’s called So Jelly, and I have it in stock right now (and can order the dies if anyone wants them … next Lawn Fawn order going in on Monday!), just click the photo below to detour via the shop 😉

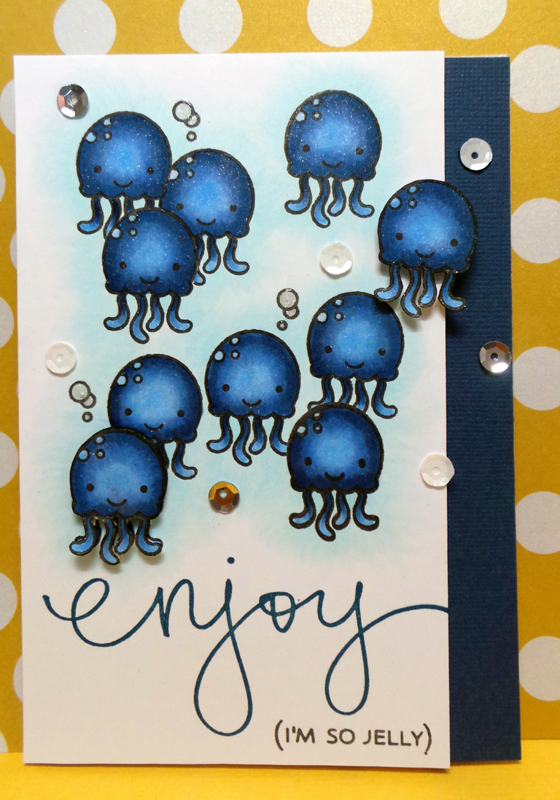
CARD #1
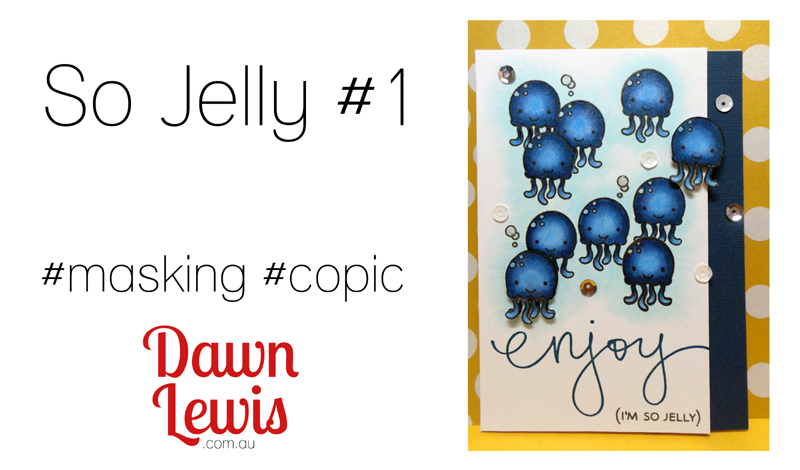
This card was first cab off the rank, using a masking technique and my copic markers. Ingredients include:
Stamps – So Jelly, Lawn Fawn AND Whimsical Words, Darkroom Door
XPress It Blending Card
White card base, sidefold
Inkpads – Black Licorice, My Favorite Things AND Not Quite Navy, Stampin’ Up
Stamp positioner
Acrylic block
Post-it notes
Fine scissors
Copics – B32, B21, B23, B34, B37, B0000, B000, 0
Double sided tape
Foam Tape
Fun Foam 14.3cm x 5.5cm, white
Sequins – white & silver
Wink of Stella Clear pen
Glossy Accents
Navy Bazzil cardstock 14.8cm x 2cm
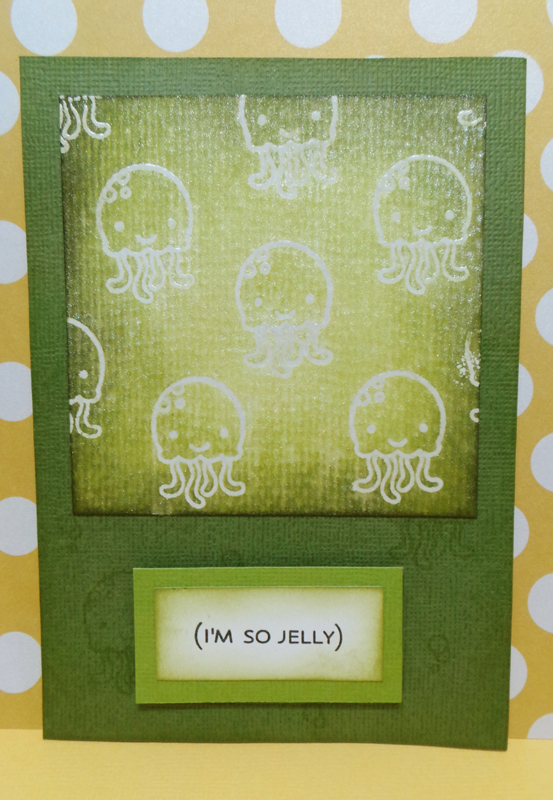
CARD #2
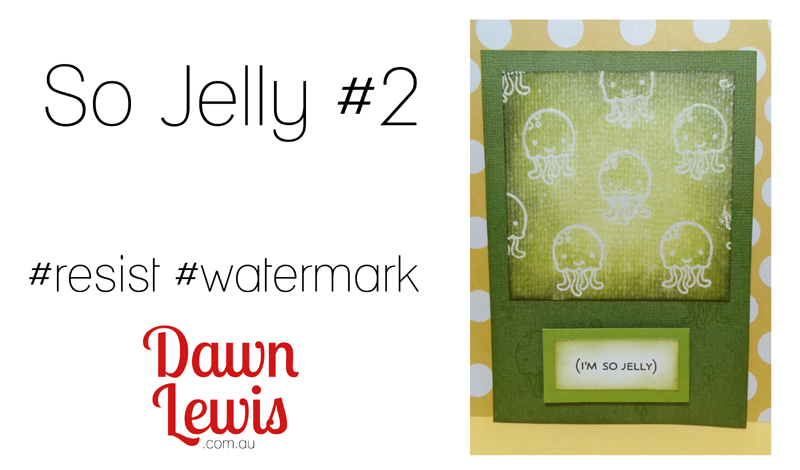
This one uses a fun technique called embossed resist … and not a copic marker in sight! Ingredients include:
Stamps: So Jelly, Lawn Fawn
Card Base, white, side fold
Dark Green cardstock, 4.8cm x 10.5cm
Watercolour paper 9cm x 9cm
White cardstock 2cm x 5cm
Black Stazon Ink
Distress Inks: Shabby Shutters, Peeled Paint, Forest Moss, Embossing
Distress Ink tool with foam pads
Anti static tool
Acrylic block
Clear embossing powder
Heat gun
Craft sheet
Perfect Pearls shimmer spray
Double sided tape
Fun foam, white 1.5cm x 4.5cm
Trimmer or blade/mat/ruler combo
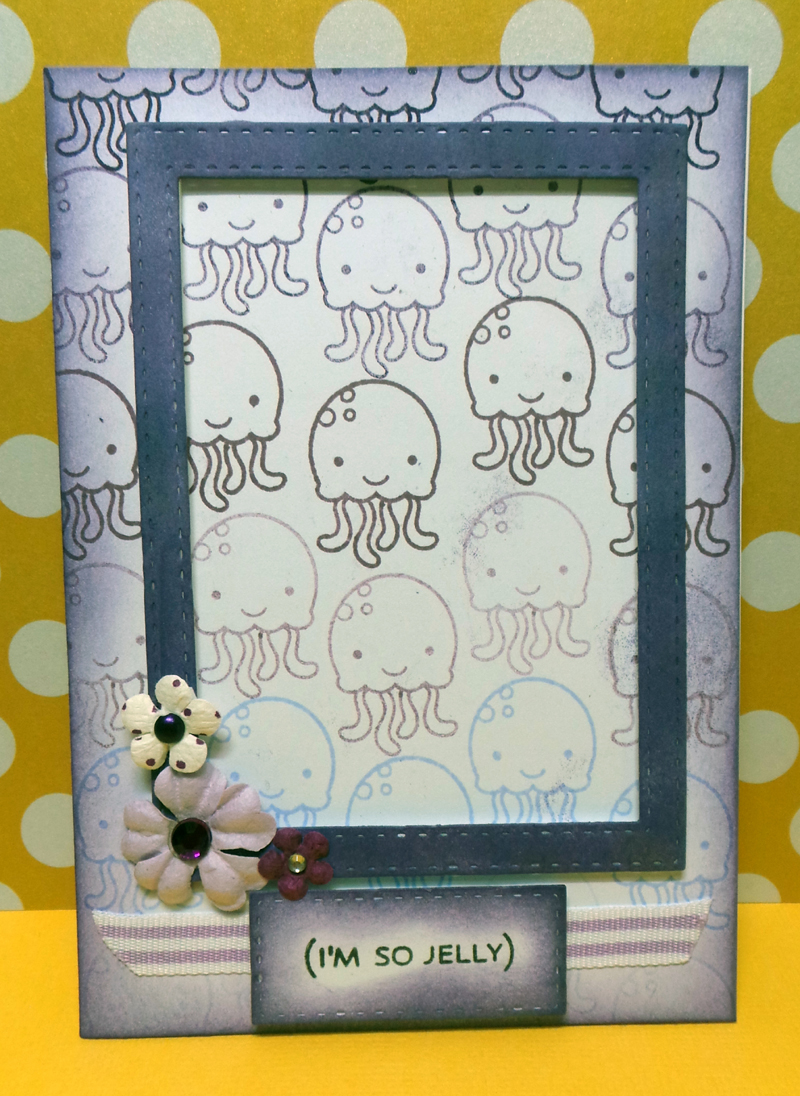
Card #3
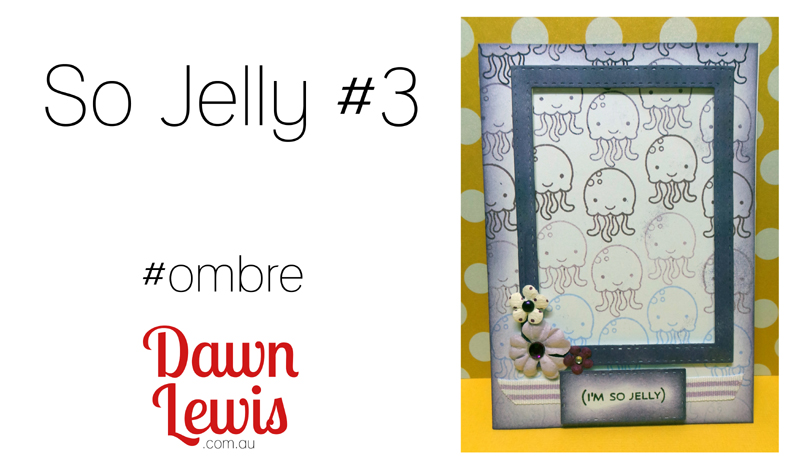
Finally … I glanced around my desk, and there was some purple cardstock leftover from another project … so purple it is!!! This uses a technique called second generation stamping for a cool ombre effect. I like this technique because it practically doubles your inkpad collection! Ingredients include:
Stamps – So Jelly, Lawn Fawn
Black ink: Black Licorice, My Favorite Things
Jelly purple inks: Stampin’ Up Almost Amethyst, Perfect Plum, Elegant Eggplant
Distress Ink: Dusty Concord
Distress Ink blending tool & foam pad
White card base, sidefold
White cardstock
Stitched Rectangle die, Simon Says Stamp (equivalent to Lg Stitched Rectangle Stackable by Lawn Fawn)
Ribbon 10cm
Paper flowers x 3
Brad x 1
Gem x 2
Double sided tape
Foam tape
*PHEW* … and that is it! I hope you’ve found some inspiration to dig into your stamp stash and try one of these techniques soon.