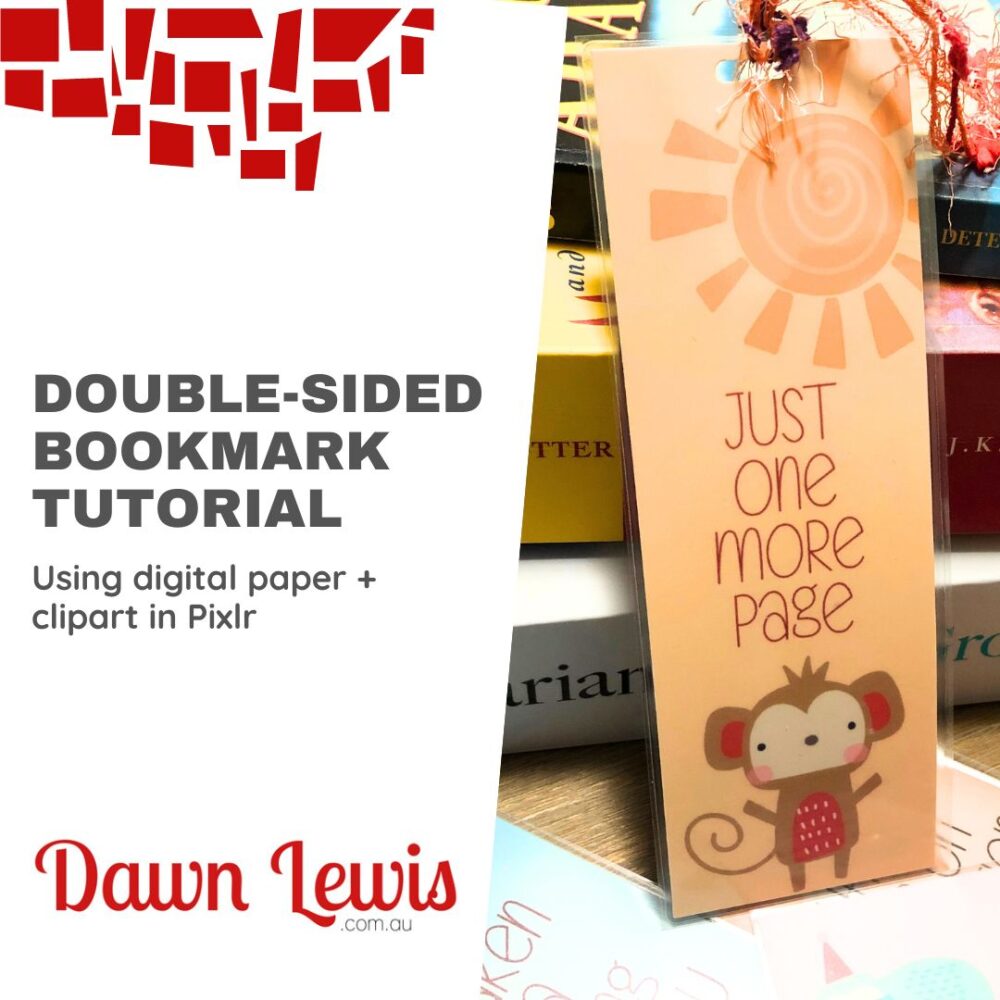
This month we are using digital papers, clipart and fonts to create cute double-sided bookmarks, using free online software. You’ll find all the links & details that you need for this project below.
For this project you will need a trimmer, hole punch, scissors, laminator, laminator pouches and ribbon/yarn/tassle, as well as your computer, digital paper and/or clipart and your favourite font. I opted to have my design printed at the local print shop, or you can print at home.
Here are links to the resources used in the video:
Bookmark size 6″ x 2″ = 600 x 1800 pixels
Printable size 6″ x 4″ = 1200 x 1800 pixels
**Vacation Clipart
* Affiliate links may be used at no cost to you. If you find yourself with many gorgeous items in your cart, do have a look at the all-access subscription option (the yearly option is best value).
**NOTE: Some digital sets used in my original video are no longer available. Alternative has been linked.
Want to learn how to use cool digital files like these? Check out Digital Craft School, where I teach you how to turn digital craft resources into finished craft projects you can hold in your hand.
If you have any questions, please feel free to ask, and when you finish your first bookmark I would love to see it!


In the beginning, it says we are making a whiteboard. Then it says we need a glass insert?? I’m so confused.
Hi Kathy. Thank you SO MUCH for bringing my attention to that error in this blog post! Looks like I did a bad copy/paste job when I created it. All fixed, and I hope it makes more sense now. Dawn