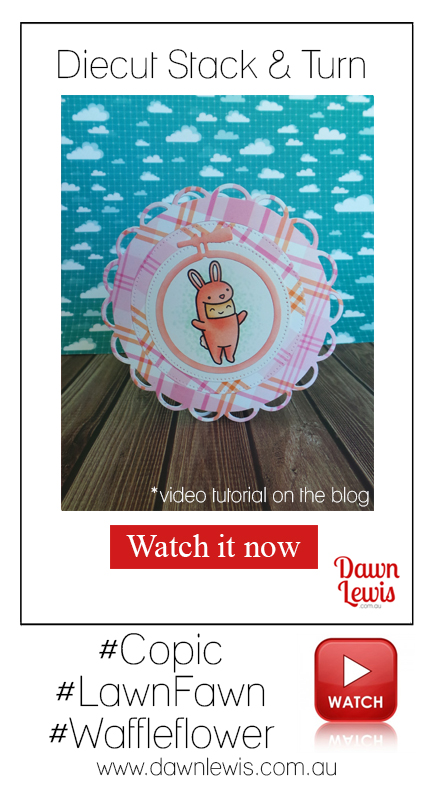
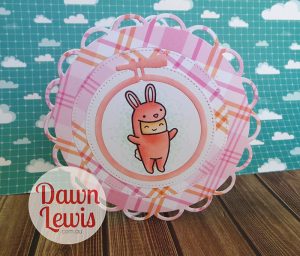
This clever diecut inlay technique gives the illusion of lots of layers, when in fact your card remains relatively flat. This makes it cheaper and easier to post, and is super economical for those crafting on a budget and wanting to get the maximum use from their supplies. Not only can you turn a pattern paper, but if it is double sided, you could cut it on the back of the border you want, and flip it over for a totally different design in the centre.
Please note that I had some recording difficulties … my video camera pulled an opposite day trick on me, and told me it was on when it was off, and off when it was on … so unfortunately I missed a few bits. I do apologise, and hope I’ve been able to explain the technique sufficiently … it’s pretty easy 🙂
MATERIALS LIST
Other dies:
Dotted circle 2.5″ + 2 3/4″
Scalloped Circle 4 1/4″
Tombow Monadhesive liquid glue
Mini Misti stamping tool
White Cardstock
Copic Markers
Face: E50, E51, E53
Suit: R30, R20, R32
Dots: G0000, G000, G00
So … without further ado … let’s get on with the show!
Now … if I’ve confused you completely, please feel free to send me an email or message me, and I will be happy to answer questions 🙂
