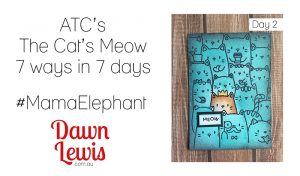
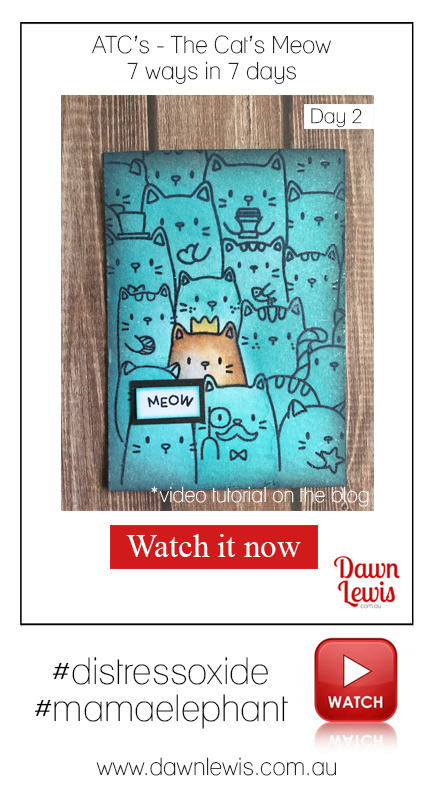
Welcome to Day 2 of the ATC, The Cat’s Meow, 7 ways in 7 days series.
If you’re not interested in ATC’s, stick with me, because these ideas and techniques can be used for card making as well!

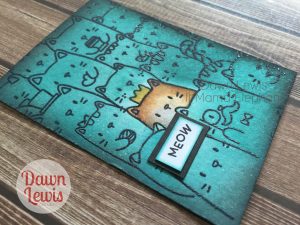
Given that Mama Elephant has The Dog’s Woof and just released The Bunny’s Hop (due in store any day now!), I thought I would use the set that started it all … The Cat’s Meow. This set has an awesome multi-kitty border, as well as some individual kitties and a whole lot of accessories. It’s a fun set, and in this series I will show you 7 different ways that you can use it. Today’s technique is emboss resist & vignette using Distress Oxide inks, as well as colouring the feature image using Distress Inks.
I have started with a base of watercolour paper, cut 2.5″ x 3.5″, as this is the standard size for an ATC. You can see the whole project, step by step, in the video below.

MATERIALS
Stamps – The Cat’s Meow, Mama Elephant
Watercolour paper
Ranger Archial Jet Black ink pad
Distress Ink Oxide, Peacock Feathers
Distress Ink Oxide, Picked Raspberry
Distress Ink Oxide, Black Soot
Distress Ink Oxide, Wild Honey
Distress Ink – Vintage Photo
Distress Ink – Tea Dye
Mini Misti stamping tool and/or Acrylic block
3mm double sided tape
Clear embossing powder
Heat tool
White cardstock scrap
Black cardstock scrap
Scissors
Trimmer
Aqua Pen
In conjunction with The Frolicking Fairy, I am hosting ATC swaps. Marcia is the host for the USA, and I am the host in Australia. This months theme is ‘Anything Goes’, which means the colours, theme, stamp brand, techniques, etc are totally up to you! If you want to read more about the current swap, you can CLICK HERE for the blog post. It is due 16th March, and I am accepting late signups through to the end of this week (Sun 25th Feb). You’ll find a link to the sign up form at the end of the blog post.
And now … it’s time for the show!
I hope you enjoyed this first project, and look forward to seeing you for Day 3 of this seven part series tomorrow.

