This new 7 Ways in 7 Days video series showcases 7 projects made by using every scrap of a single piece of 12×12 cardstock, and a handful of other bits & pieces. I am a bit over having a scrap folder full of bits and pieces, and so my mission in 2017 is to use up what I have before moving on to another project.
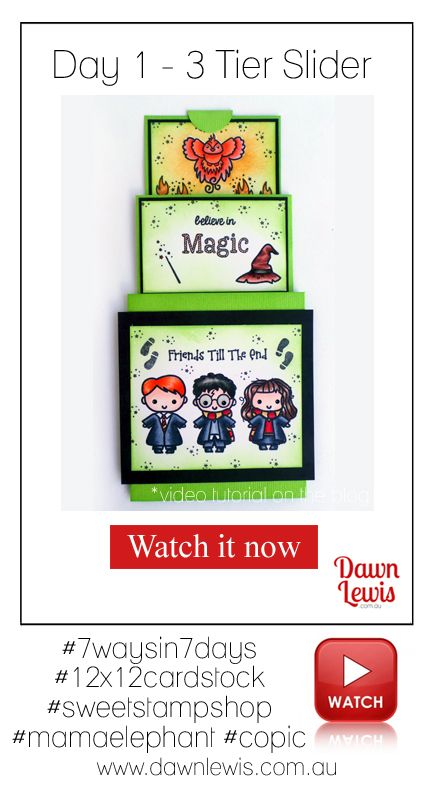
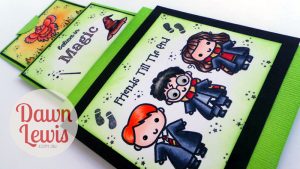
I was super keen to try this 3 tier slide out interactive card that I’ve been seeing online lately, and it was much more straightforward to construct than I expected. #pleasantsurprise I did not invent this template, it’s everywhere, but if you know who did create it, I would love to give them full credit, so let me know 🙂 I then challenged myself to use up every single piece of leftover green cardstock, and ended up with 7 gorgeous projects … you’ll see a new one every day this week!
NOTE: This blog post has been amended to include a downloadable PDF with size & cutting details for this project (scroll down).
12×12 Cardstock, lime green
A4 Cardstock, black
A4 Blending Card
Sweet Stamp Shop stamps – Wizards, Grand Wizard, Magical Friends
Mama Elephant die – Tri Window creative cuts (die set)
Memento Tuxedo Black ink pad
Ranger Archival Jet Black ink pad
Distress Ink – Twisted Citron + mini blending tool with foam pads
Acrylic block
Mini Misti stamping tool
Double sided tape – 3mm, 6mm, 12mm
Bone Folder
Craft Mat
Trimmer AND/OR self healing mat / craft knife / ruler
Additional Materials List for this project
Wink of Stella clear pen
Distress Ink – Spiced Marmalade + Abandoned Coral
1″ circle punch
Copic Markers
Skin: E000, E00, E01
Shirts + Glasses: B000
Red & Gold: R24, R27, Y21, Y23
Red Hair: YR01, YR02, YR04, YR07, YR09
Black Hair: W4, W6, W7, W8
Brown Hair: E11, E13, E15, E17, E18
Black Cloaks: C2, C4, C6, C8, C9
Hat: R08, E21, E23, E25, E27
Phoenix: YR01, YR02, YR65, YR04, YR07, YR09
White Gel pen
Black Glaze pen
Glossy Accents
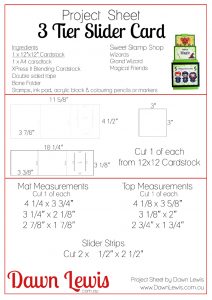
Cardstock Measurements
Green Cardstock
Piece 1 – 11 5/8″ x 4 1/2″
Piece 2 – 10 1/4″ x 3 1/8″
Piece 3 – 3″ x 3″
Cut lines on Piece 1 … on far right panel … 1″ from each edge … begin cut line at 1/2″ from top, end at 3″ (cut line is 2 1/2″)
Cut lines on Piece 2 … on far right panel … 1″ from each edge … begin cut line at 1/4″ from top, end at 2 1/2″ (cut line is 2 1/4″)
Black Cardstock
Piece 1 – 4 1/4″ x 3 3/4″
Piece 2 – 3 1/4″ x 2 1/8″
Piece 3 – 2 7/8″ x 1 7/8″
White Cardstock
Piece 1 – 4 1/8″ x 3 5/8″
Piece 2 – 3 1/8″ x 2″
Piece 3 – 2 3/4″ x 1 3/4″
Want to print this as a PDF? Just click the image below to download your printable!

Here’s the video … I hope you enjoy this fun project!
I hope you will join me tomorrow for the 2nd project in this 7 Ways in 7 Days video series!


Hmmm. How do I print the instructions so there’s the picture plus the rest and not the whole background stuff? You make it look so easy maybe even I could do something like this.
You could totally do this Dawn! I will see if I can get all the details into a PDF 🙂
You make it look so easy, love it.