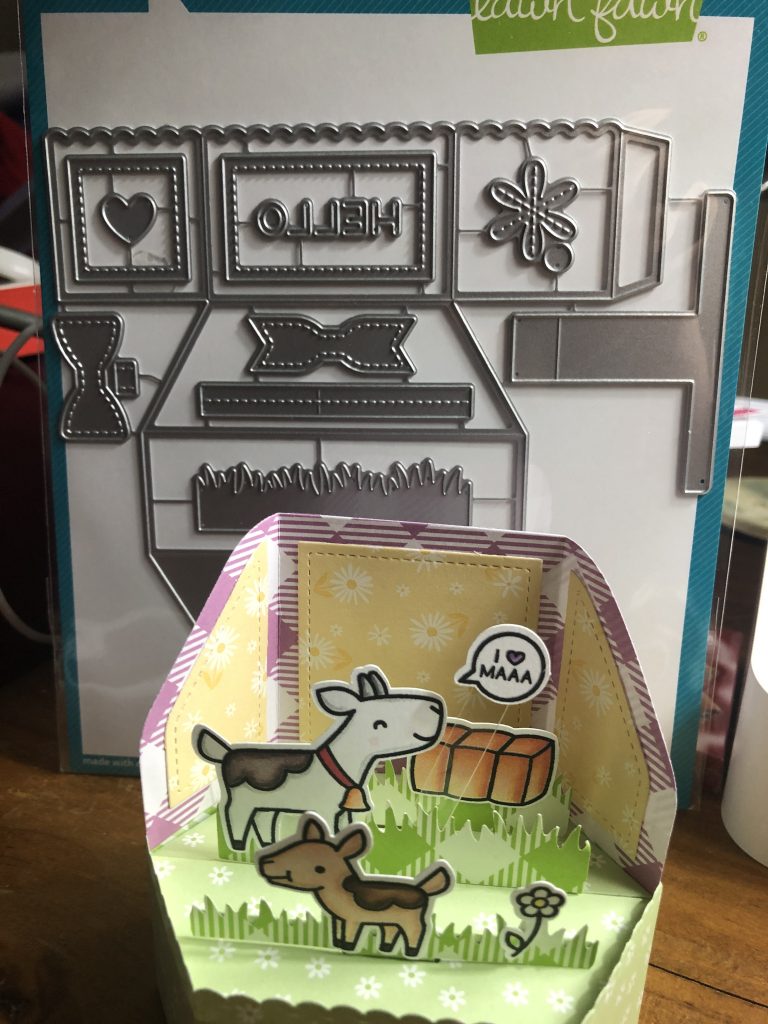
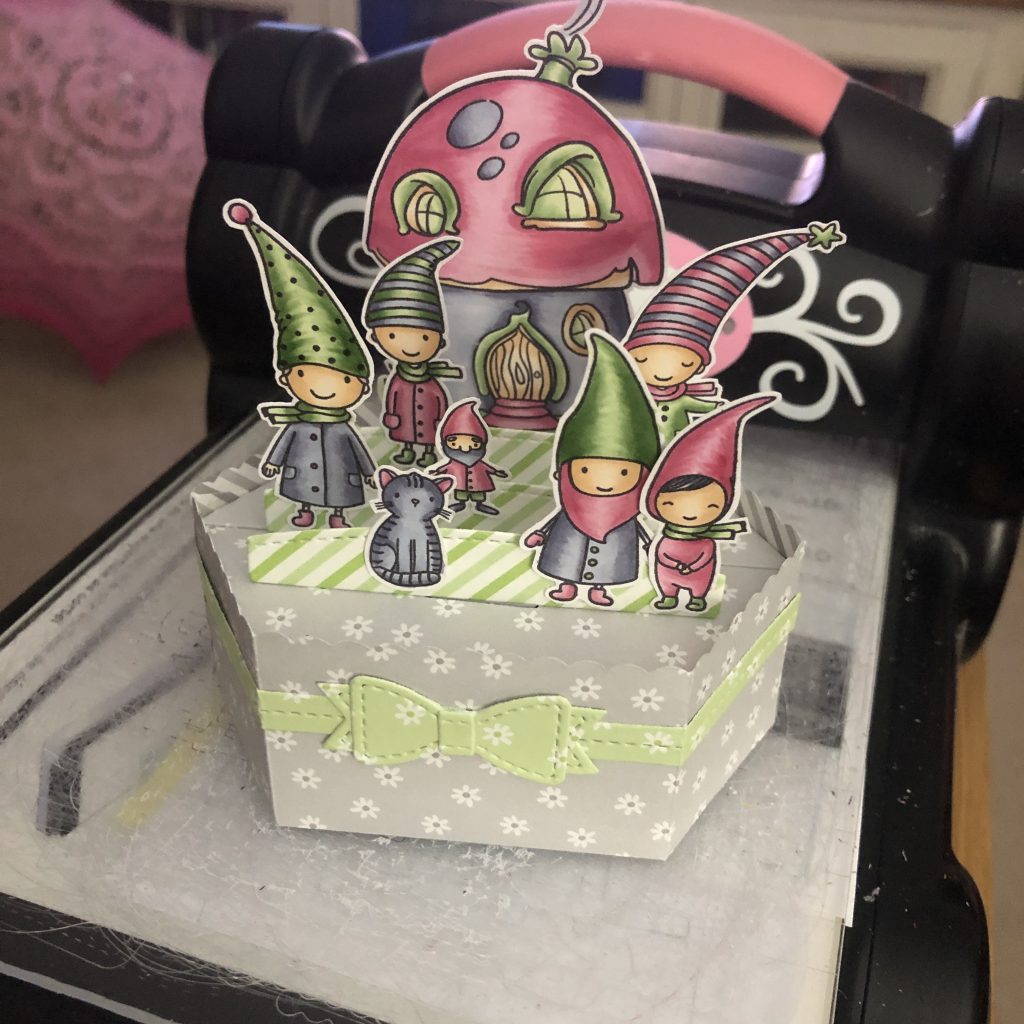
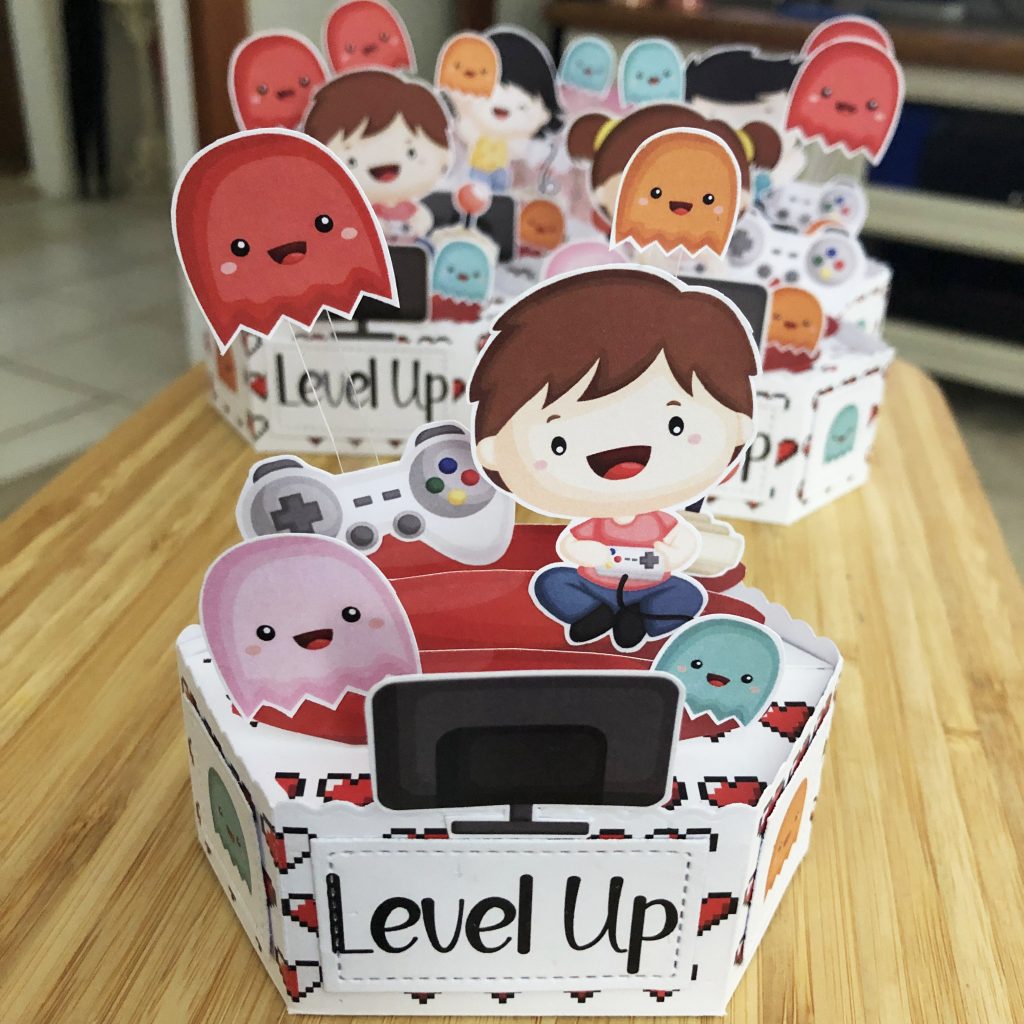
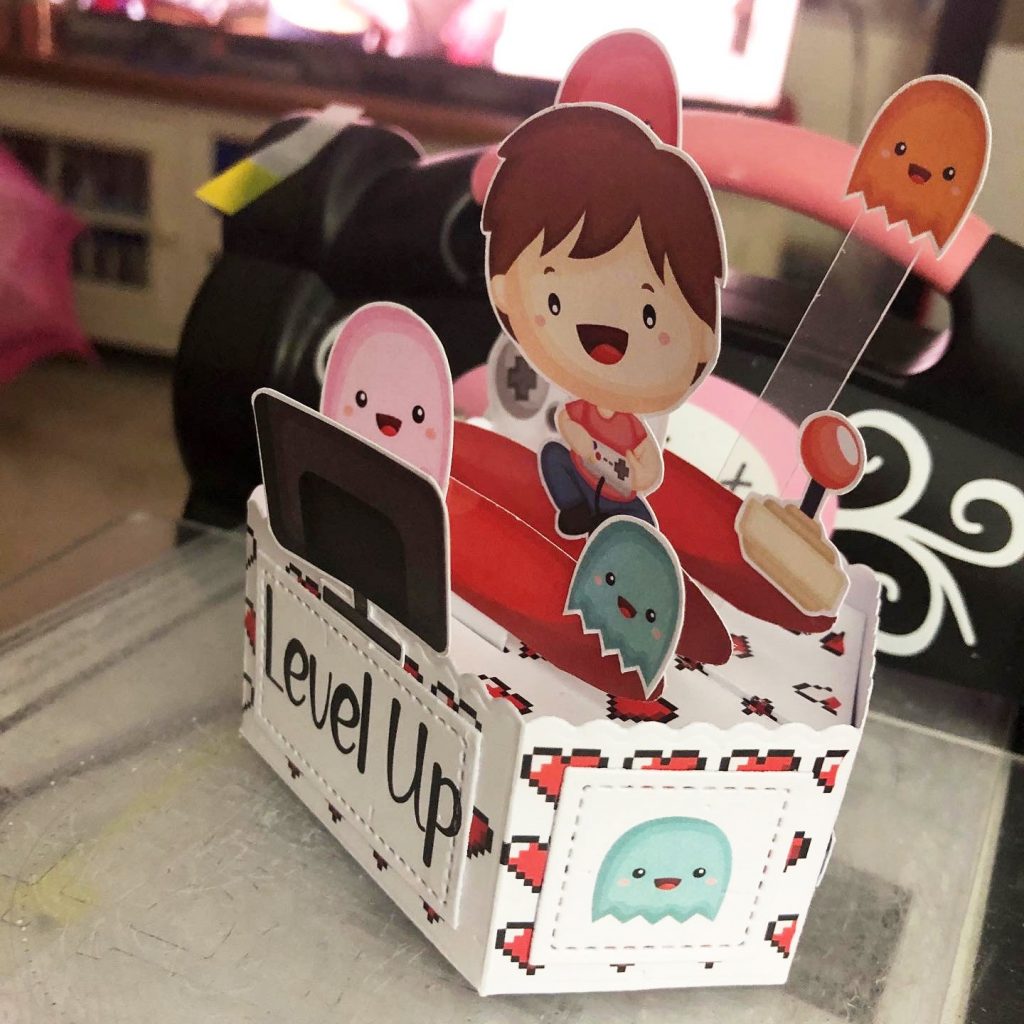
Recently Lawn Fawn released what I consider to be the die set of the year … the Platform Pop Up. I was fortunate enough to sit in on an early workshop with Kelly & Jenn from Lawn Fawn, and I could see that this was going to be a hit. I got to make one with gorgeous Lawn Fawn papers & images, and promptly made another using some pre-coloured images (see photos below).
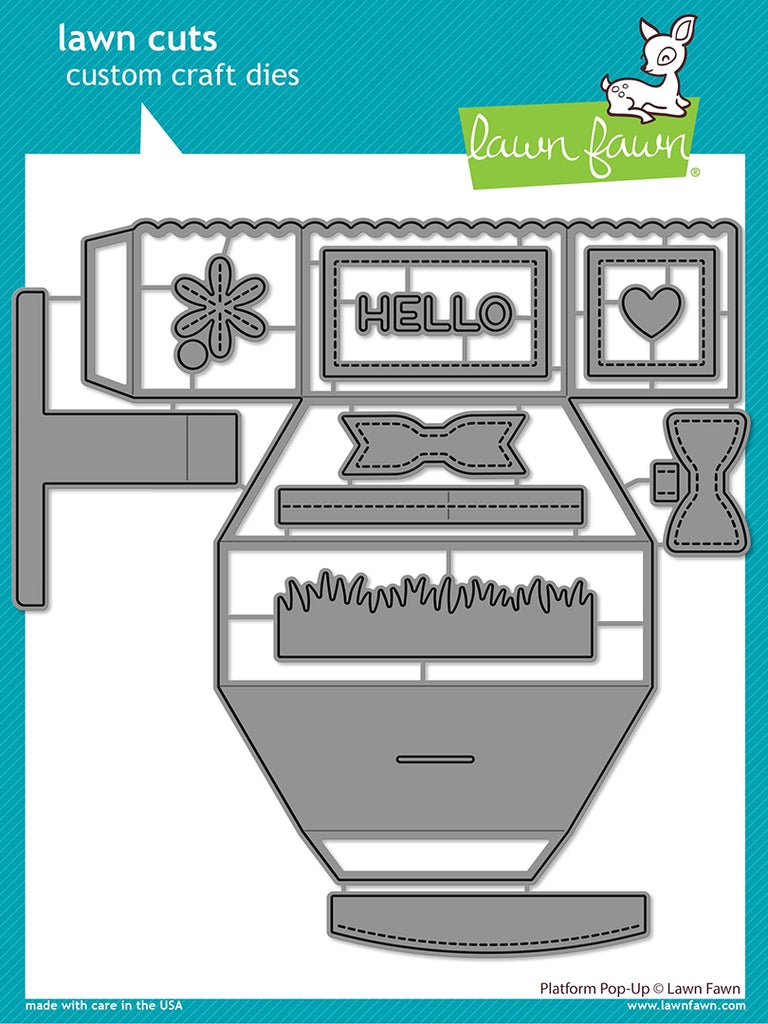
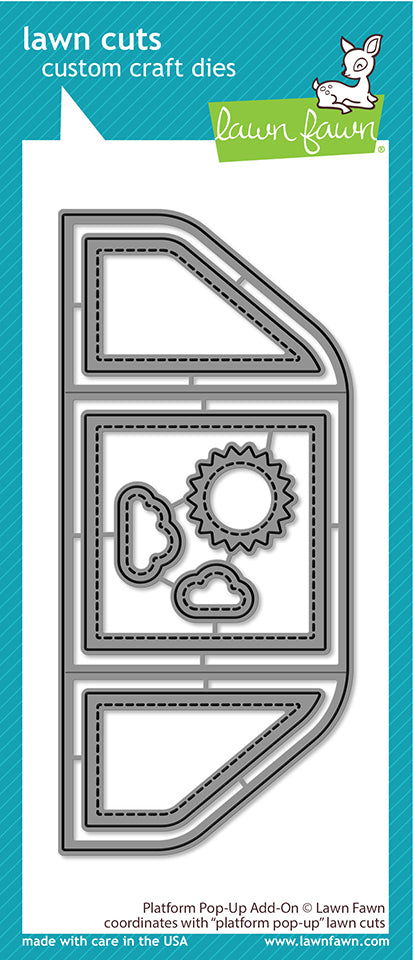
Not only is this simple to construct, but it’s kind of addictive, and incredibly versatile. I’ve seen people do some incredibly amazing things, like peek-a-boo sections below the platform and sliding pieces above, and I think the surface of its versatility has barely been scratched. Here’s a look at the Platform Pop Up and the Platform Pop Up add-on die sets.
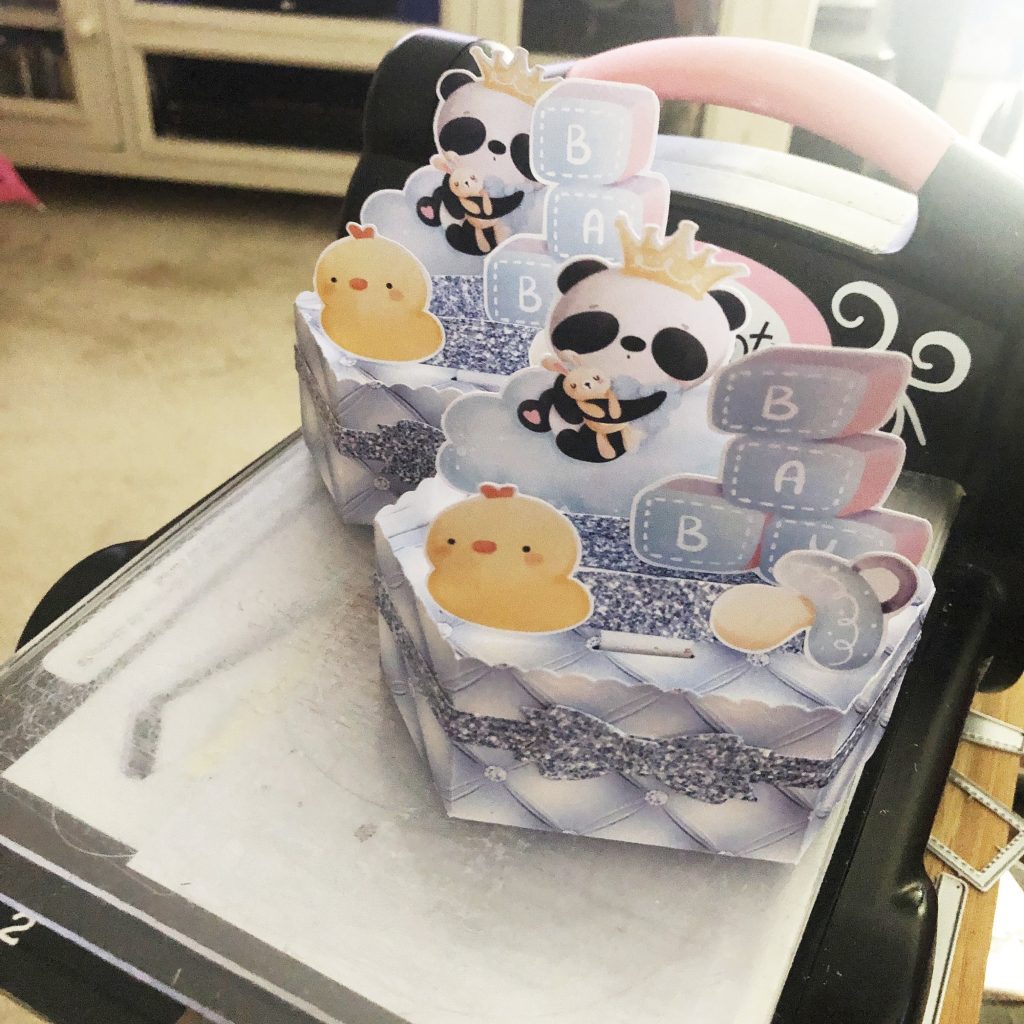
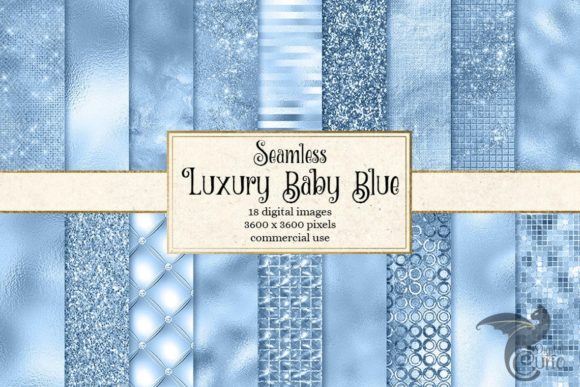
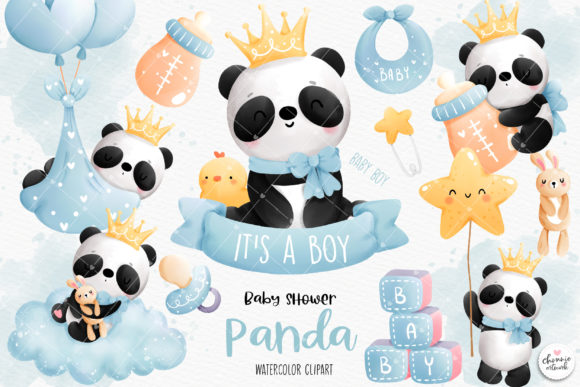
It made me wonder if it would be possible to combine this fun new die set with some of the digital papers and clipart images I recently picked up from Creative Fabrica. A friend was in need of a couple of baby boy cards, and I didn’t have any on hand. Not only that, but my card making desk was in chaos, and it was hard to get to the supplies I needed … and that got me thinking … wouldn’t this just be easier on the computer? Sure, I would still need to do a whole lot of die-cutting, fussy cutting and then put it all together, but now that it was in my head, I had to give it a try.
It took a while to figure out (and I’m working on a template for y’all), but after a couple of tries, I was ready to print. I had my panels printed at Officeworks on 250gsm cardstock, and at 75c per A4 colour print it was good value. I could get the whole base (plus base decorations) from one A4 sheet, and then fitted 4 sets of colour clipart onto another A4 sheet. From a cost point of view, I printed 5 x A4 sheets for $3.75, which ends up being 94c per card. Also, the more often I use the die set, the better value I get from it.
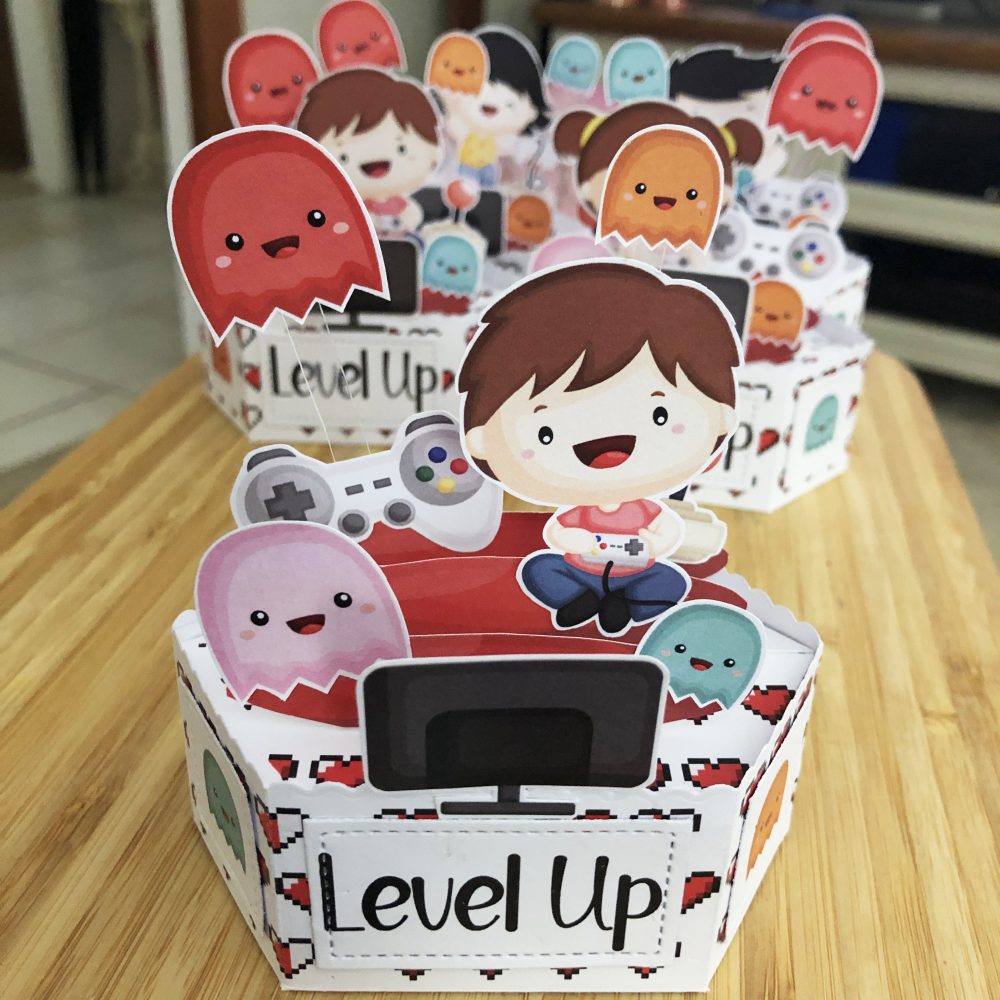
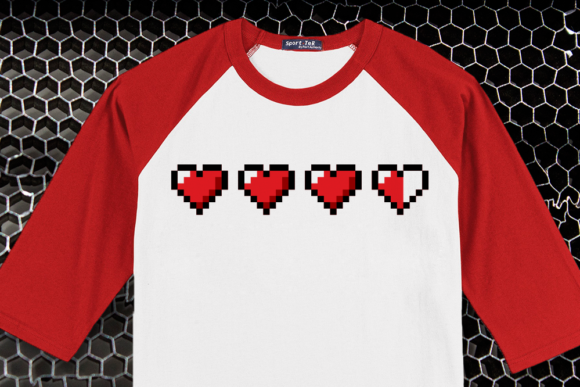
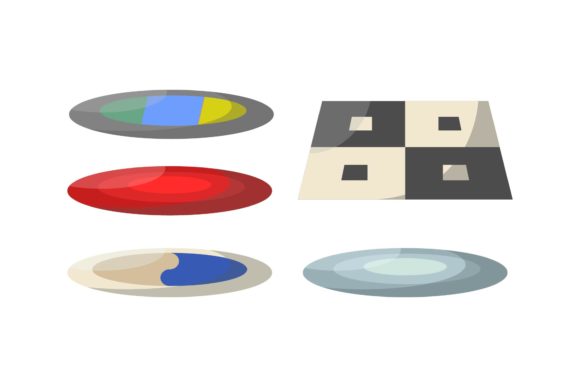
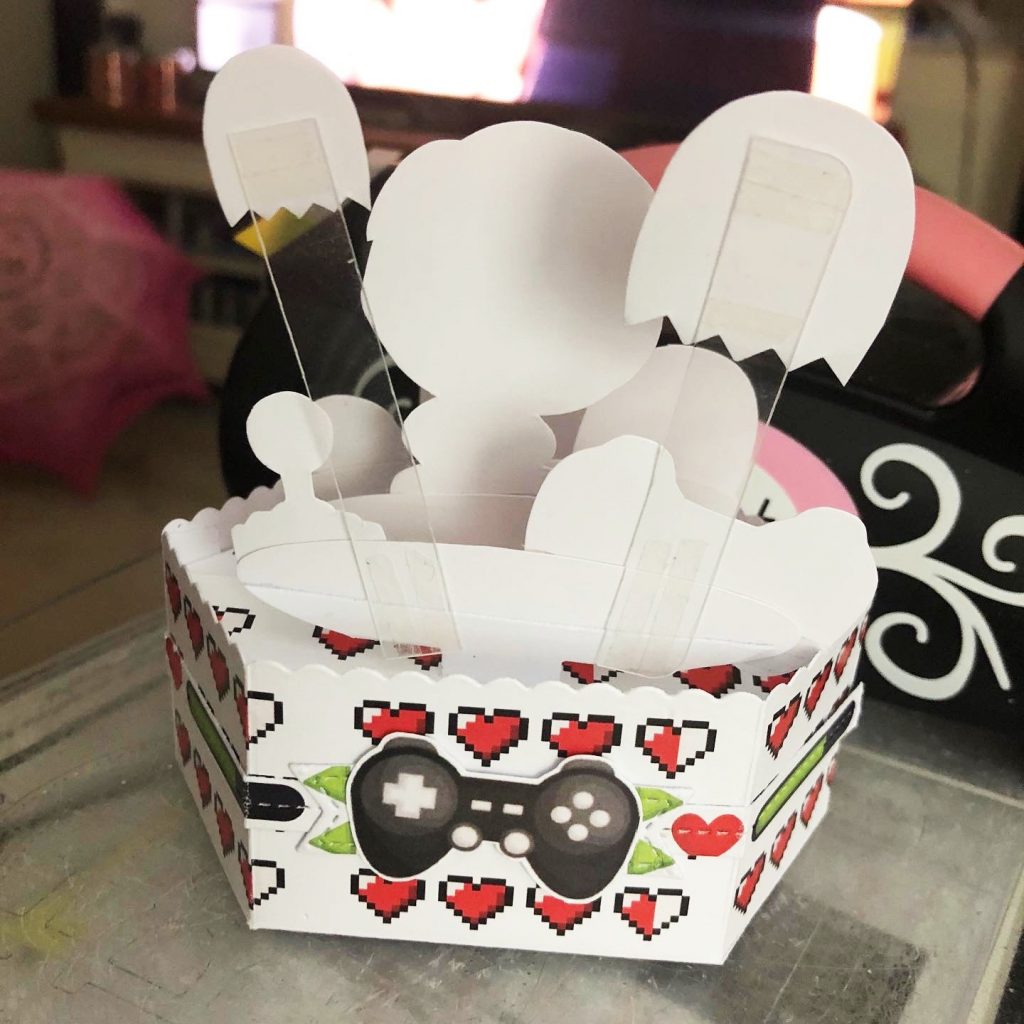
Once I had success with the baby card, I wanted to try a fun video-game themed clipart set, but I couldn’t find a digital paper that quite worked with it. A quick search, and I found an 8-bit life bar graphic that I staggered and repeated over the page to create a fun design for the platform base. I even found a fun floor-rug graphic to sub in for the hill or grass die. This time around I was able to fit clip art pieces for 5 cards onto a single A4 page and printed 5 base pages, which made these cards 90c each. Here’s a look at the digital sets I used … aren’t they cute!
You can click on the photos to find the sets on Creative Fabrica, and I have some videos on my YouTube channel that show some ways you can work with digital files. For more detailed tutorials, you can become a member of my CF Fans community HERE.
I confess that I am am absolutely thrilled with the way that these turned out! One of these is for my husband’s upcoming birthday, and it doesn’t hurt to have a few in reserve (I have a decent number of people in my life who looooove video games!).
So, what’s next? Well, I have a fresh batch of Platform Pop Up dies in the shop now, and you can find them HERE. If your budget doesn’t stretch quite that far, check out the i-Crafter Box Pops Oval die set (which has loads of awesome add-ons) HERE. The mechanism is a little different, but it’s easily $10 cheaper. This would also be a great item to put on your wish list (or a gift certificate) for any upcoming celebratory gift-giving occasion (hello Mothers Day 😉).
Want to learn how to use cool digital files like these? Check out Digital Craft School, where I teach you how to turn digital craft resources into finished craft projects you can hold in your hand.
Remember … it’s ok to mix brands, it’s ok to think outside the box, it’s ok to start from scratch with a custom inked base, or use cardstock or pattern paper. Look through your stash and see what you have. Look for critters that can lurk among the grass, little people to stand on tiny hills or create clouds for balloons or water for sea creatures. Add your images above, below, front, back, inside and outside … and most of all … have fun!


Your work is awesome
Aw, thanks Tracey