Welcome to Day 5 of this seven part video series! Yesterday we explored ways to get the best value from your stamp sets by utilising the sentiments to create a background panel. If you missed that video, you can check it out HERE.
All week I will be featuring the gorgeous Painted Rose stamp set by Concord & 9th, showing different techniques and ideas to get the most from this flexible stamp set (and matching die set). One of my favourite things about this set is the freedom from needing to have everything perfectly lined up … it has that deliberate arty, painterly feel about it. Taking advantage of such a freeform set includes making the rose look like … not a rose!


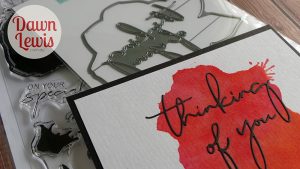
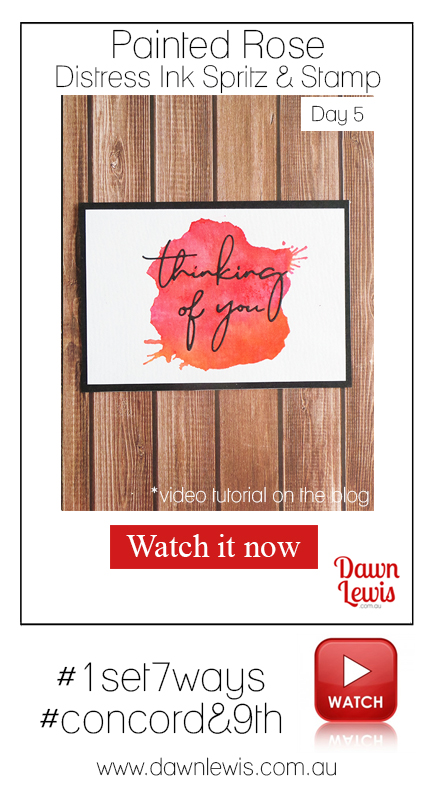
In today’s video I’m going to show you how I used the solid large layering stamp from this set to create a real statement on a card, with a comparison of Distress Oxide and regular Distress Inks for the same technique.

LESSON 5 – Sometimes you can create a stunning piece by keeping it very simple. I enjoy a good skulk around Pinterest as much as the next girl, and I adore the amazingly complex cards with layers that would make Sara Lee jealous … but it’s not my style. A lot of times, something done simply and well can have just as much impact as an intricate piece that takes a lot more time, effort, expense and expertise. I subscribe to the K.I.S.S. principle (Keep it Simple Sweetie) because for me, simple and done is better than fancy and not finished. A quick and simple card design also means you can make a big batch of cards at once … and if you’re using it a lot, then you’re getting great value from your set.
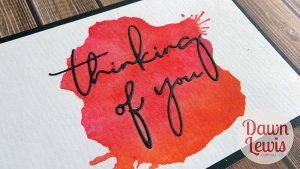
The first thing I did was create a big red background … which felt a bit Dexter-ish, so I improvised and played with other colours. One of the joys of Distress Inks is that you can layer them, and you’re going to see the sprintz & stamp technique on this one.
The second thing I did was utlilise that gorgeous sentiment die to keep this card CAS … Clean And Simple.

MATERIALS LIST
Stamps: Painted Rose, Concord & 9th
Dies: Painted Rose, Concord & 9th
White card base (A5, folded in half)
White watercolour cardstock A6
Black Cardstock A6
Trimmer
Mini mister spray bottle with water
Stamp positioning tool (mini Misti)
Double sided tape, 3mm
Sizzix Big Shot die cutting machine
Distress Inks – Candied Apple + Picked Raspberry + Spiced Marmalade
Self healing craft mat + ruler + craft knife
I ended up loving this card so much that I made a few of the using different distress ink colours … and then I gave them away before I could photograph them *d’oh*. Trust me … they looked amazing!
I hope you’re enjoying the tips for getting more value from your stamp sets. Now let’s grab some popcorn and watch the movie!
Thanks so much for joining me for this video series … tune in tomorrow for another hot tip to help you get more bang for your buck from your cardmaking supplies.

