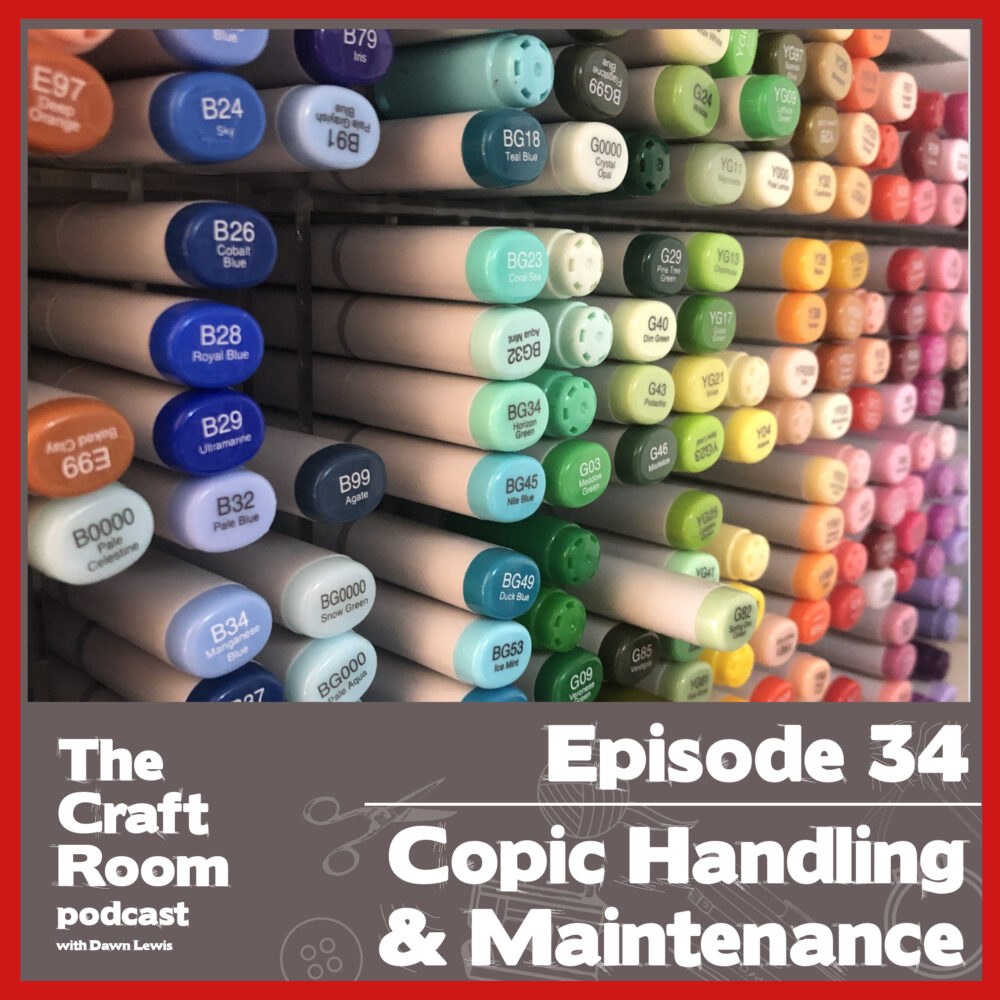
Today we’re talking about a couple of very important things you need to know if you have Copic markers, or are thinking about starting your collection … maintenance and handling.
I want to start by laying out my credentials … I am a certified Copic instructor, and an Authorised Copic Stockist in Australia. I have been using Copic markers for over 13 years, and I created the Copic Subscription Box as a way to help crafters build their Copic colouring skills, as well as their marker collection. And, while I do know a lot about Copic markers, I don’t receive updated information from the TOO Corporation, so I have to work a lot of things out on my own and keep an eye on various online forums and articles.
As part of my business I offer a Copic reinking service, and last year I noticed a marked increase in the number of extremely dry markers that were coming in for reinking. In every single case, extremely dry Sketch markers had a crack inside one lid, always the lid on the Super Brush nib end. In most cases the marker could not be reinked, and I was left with the awful task of letting each customer know that they needed a new marker. So, I started reading up on it, and I learned a few things … which is how this episode was born. I want to share that information with you so that you can make your Copic markers last for many years.
Maintenance
Regular marker maintenance is important to keep your copics in good shape for a long time, and this falls into three categories … Lids, Nibs and Refills.
Lids
Make sure the lids are on properly. It’s simple, but it’s important. Because Copic ink is alcohol based, if a lid is left off for too long, or not quite snapped on properly, that alcohol is going to evaporate, and then you’re going to have problems next time you want to colour.
Check inside the lid. Every time you remove and replace the lid, the brush nib is going to transfer a little bit of ink onto the inside of the lid. That ink can build up, and when it does, you may encounter a couple of problems. Firstly, as that ink dries, instead of the nib leaving ink on the lid, that jelly-like or crusty old ink will transfer from the lid onto your marker nib. This can lead to damage to the nib where the ink doesn’t flow well (or maybe doesn’t flow at all). Secondly, a build-up of ink inside the lid can compromise the airtight seal, which leads to your marker drying out.
To clean your marker lids you only need 2 things … isopropyl alcohol (I use Isocol), and cotton buds/swabs. I usually pour a little of the Isocol into the Isocol cap, or a small ceramic dish, dip in a cotton bud, and then wipe away the dried ink inside the lid. If there’s a lot of ink, you might need more than one cotton swab, and may need to scrub a little bit, but it will clean up relatively quickly. Be sure to clean all the way down into the lid, and if there is any dried ink around in that section of the marker between the nib and where the lid snaps on, clean that up as well.
I’m going to be honest … the thought of sitting down to clean my entire Copic collection in one hit makes me want to do pretty much anything else, because with a collection of 350 markers, that’s 700 lids I need to check and clean. That’s kind of a lot! So, in order to not overwhelm myself, and actually get the job done, I have put a new system in place. I retired a mug from the kitchen, which will live out its days on my craft desk. Now, when I’m colouring, if I notice that a marker has a particularly grubby lid, I put it into the mug rather than putting it away. I now have the option of cleaning the lids at the end of my colouring session, at the beginning of my next colouring session, or I can grab them to clean while I’m watching tv, waiting for the kettle to boil or the microwave to do its thing. Once they’re clean, I can put them away, happily knowing they are going to live to colour another day.
Nibs
The most common issues for nibs are crystalisation, sticky spots and drying.
A crystalised nib is is usually caused by one of two things … a peculiarity of the dye, or a manufacturing error. Some colours with high dye concentrations are especially prone to crystallisation. You can try wiping away the crystals by using a cloth that has been spritzed with Isocol, but be quick because you don’t want to wick away too much ink. If that works, you’ll know it’s a result of the dye. However, if it’s a manufacturing issue it will become a recurring problem. You could try to contact Copic directly, but ultimately the marker will need to be replaced.
A sticky nib is a sign of a bigger problem. The ink inside your copic marker is essentially a mix of alcohol and dyes, and when a nib has sticky patches, it’s a sign that your marker is slowly drying out. If you catch it early, you might be able to save the marker by cleaning inside the lids and around the nib to restore the airtight seal. Sometimes you can wipe that sticky section away on a piece of scrap paper, and all will be well. However, if not caught early enough, that stickiness is going to permeate through the entire marker, and eventually you will need to replace it. I’m going through this right now with the first Copic marker I ever owned, and while 13 years is a good innings, I’m sad to say goodbye to my old friend, the E35 Ciao.
If you notice light or white spots on the tip or along the side of your Super Brush nib, that means the ink is running out, and it needs to be refilled. Do not wait too long to refill your marker, and we’ll talk more about why shortly.
While Copic markers are designed for long-term use, the nibs will eventually start showing signs of wear and tear. It’s no different than what I experienced when I was learning folk art painting in the 90’s. It didn’t seem to matter whether I used a cheap or expensive brush, they all eventually wore out, and that is because the brushes were soft, but the surface I was painting on was hard. It’s the same with Copic nibs … that paper might feel smooth, but it’s not as soft as that Super Brush nib. I think the best analogy I’ve seen for this is comparing it to a pencil. Paper is abrasive, so it wears down the perfectly pointed pencil lead, so we need to sharpen the pencil to get that point back. The signs of wear and tear in Copic nibs are when they start curving to one side or get a little fuzzy.
Thankfully it’s easy to replace a nib, and while nibs are not cheap, they are still cheaper than buying a new marker, and there’s less going into landfill. Take careful notice of your marker nibs, as they are the way your Copics will alert you to any problems.
Refilling
Your marker will drop more than one hint that it’s thirsty and needs a refill. You might start seeing streaky colour instead of smooth, hear a squeaky sound when you’re shading (less ink = more friction = squeaking), your ink may be a lighter colour than usual and there’s the classic … a totally dry nib tip.
I remember when the new reinkers were released that there was a lot of grumbling about how they halved in size, but not in price. However, there are a few up-sides to the smaller reinker bottle, and as a glass-half-full kind of gal, I like to look for silver linings. For starters, reinkers are now more affordable, they don’t take up as much space, and even though each refill costs more than it used to, it’s still cheaper than a new marker. One of the new reinkers will fill a sketch marker at least 7 times, and a Ciao marker 9 times. At the time of recording this I have Sketch markers in my store for $10 each, and refills are $12 … not much more than a marker. That’s $1.71 per refill for a Sketch, and $1.33 per refill for a Ciao … very affordable!
The reinkers you’ll need first are in those colours you use most (for me it’s the lightest colours of my favourite blending mixes, because they cover the most area when I’m colouring), so order your reinker or send your markers for reinking the second you see that white patch or hear a squeak, and keep those markers fresh. If you’re in Australia and you’d like some refills ordered in, I have a pre-order service, so you can just let me know what you need, and I’ll get them in for you. I’ll link to the pre-order form in the show notes and on the blog.
Something I learned in the past few months is that if you wait too long to reink your marker, the cotton core begins to harden and then cure. Once that core is cured, it cannot be revived, and the marker will need to be replaced.
Handling
As I mentioned right at the beginning of this episode, there seems to be an increase in cracked Copic marker lids, and therefore dried out markers, and we need to talk about that. There is a rumour circulating that there have been changes to the plastic used in marker barrels & lids, which makes them more prone to cracking. Let me be clear, this is a rumour, not a confirmed fact.
Regardless of whether this is true or not, there are steps you can take to prolong the life of your Copic markers (as well as any other markers you might have in your fabulous craft room).
1. No more twisting those Sketch marker lids to remove them. I know a number of years ago the advice given was to twist those lids off, just in case it was a super juicy marker (because those things have a tendency to splatter all over the image you’ve just spent the last hour colouring, and always in the most unfixable place!). Instead, I now choose to pull the cap straight off, but make sure I’m not holding it over my current colouring project. I keep a tissue or cloth to the side, and open juicy markers over that. If you have a regular offender in this category, maybe pop a little washi tape on the lid to remind you to take care when opening. Current advice is to stop twisting those lids, because it can place additional stress on the plastic, resulting in hairline fractures inside the lid. No matter how small, a crack in the lid is going to compromise the airtight seal, and if it’s not caught quickly, that marker is doomed.
2. No more clicking your lids closed by placing it on your desk and pressing down to hear that satisfying ‘CLICK’ as it snaps properly into place. Again, this can place additional stress on the plastic and result in an interior lid crack.
3. Keep your pens away from direct sunlight. I know … this one hurts, because I love seeing my marker collection in its beautiful colour-wheel order of perfection on display. But constant exposure to sunlight can degrade the plastic, making it weak … then you get cracks.
In my hunt for information I came across this quote from the TOO Corporation website – “Since our caps are made of plastic, they will crack or deform when exposed to strong external pressure, making the cap feel loose. If it loosens up, the nib can become dry even when the cap is closed. In that case, even if you try refilling the marker, the ink would not be absorbed. If that happens, we recommend to replace a cap with a new one.”
Basically … don’t jam your markers into a place that’s too tight, don’t drop them, step on them, run them over with your car and all those common sense things. And look … I don’t know if it’s weaker plastic or just the curse of the 2020’s taking its toll … but Copic markers kind of need loads of protection right now.
Troubleshooting
If you’re noticing that one of your Copic markers is drying out (especially a Sketch, Classic or Wide marker … it doesn’t seem to happen as much with Ciao), follow these steps:
1. Clean the insides of the lids thoroughly.
2. Examine the inside of the lid closely in bright natural light, or use the flashlight on your phone. If you use reading glasses, now is the time to whip them out, and if you need a magnifying glass, absolutely use one … it could save your marker!
3. You are looking for the finest of fine hairline cracks, so far every one I’ve found has run up and down the lid interior, never around it.
If you find a crack, and the marker is completely dried out, then it’s time to thank the marker for the joy it brought you, and order a new one. HOWEVER … don’t just throw it away. You need to check the other lid, because if it has zero cracks it can now become a spare lid that may save the life of another marker.
If you find a crack, and the marker still has some ink flowing, now is the time to replace that lid and save the marker. On Sketch, Classic and Wide markers, the coloured end caps with the codes can be removed from the lid. That means you can take any spare lids you’ve removed from a dead marker, switch out the end caps, and just get rid of the cracked lid. Your marker will be saved.
If you don’t have any spare lids, you can get blank markers, and use those lids as spares.
If there is no crack, but the lid is warped, it’s time for a replacement lid or a new marker.
If there is no crack in the lids, check the barrel of the marker. If that is also clear, that may just mean that it’s time to reink.
This leads me to the subject of buying new markers and pre-loved markers that someone is destashing.
* If you are buying a Sketch marker in person, at a store or craft show, check those lids out before you buy.
* If you are buying from an online store, ask them how they pack and post. Up until late last year I had been sending the Copic Subscription Box just in a box, without extra padding, as it was a cheap and efficient way to post. However, as soon as one of the markers came back to me with a crack in the barrel (100% death sentence for a Copic marker), I changed it up, and now they travel in a box or satchel with more padding, just like I do with regular marker sales.
* If you are buying from a destash, especially online, be wary of the phrase ‘it’s a bit dry, just needs reinking’ … maybe it does, or maybe it’s a dead marker, and you don’t want to pay for one of those. Ask the seller if they’re willing to send you a photo of the insides of the caps and the Super Brush Nib, as it should give you at least a peek into the condition of the marker before you commit to purchase. But if you’re willing to take the chance, it’s always worth setting up your phone and recording the entire process of opening the parcel when it arrives and checking out all of the markers. Keep your hands and markers in the shot at all times, and then if it’s a dud batch, at least you have video evidence.
I really hope that you’ve found this information helpful, and if you’re wondering if I still love my Copic markers … I really do. It is still my goal to help you build a collection you will use … learn colouring skills that make you proud of your finished piece … and help you get the best value from your Copic markers. I’m thrilled that other crafters and artists have been talking about these issues and sharing their tips and solutions so that all Copic enthusiasts can benefit. I’m happy that I’ve learned more about caring for my markers, and that I can make sure every marker I sell arrives in tip top shape to its new home … and I’m especially glad that I can share this new knowledge with you.
Be kind to your markers, listen to what those nibs are trying to tell you … and happy colouring!
LINKS
NOTE: Copic Reinking service is no longer available.
Article about replacing brush nibs
Previous Copic episodes – Episode 14 and Episode 15
I’ve listened to this episode the most, I’ve listened to all several times over. I just love your practical advice on things! I do have a Copic question is there anything to consider when flying with Copics? I’m off to Sydney for a week, would love to take them with me but just wondering if this cause me any issues. Probably overthinking things but hey that’s me 🤣 Thinking they should be in my carry on bag but thought I’d ask before finding out (possibly the hard way)
So glad you’ve found this episode helpful, Fran. That is actually an excellent question! There are 2 issues to consider when flying with Copic markers. The first is the scent, as it may bother other passengers, but I say give it a try and if nobody complains or shoots dirty looks in your direction, carry on colouring! The other is air pressure. Whether they are in checked or carry on bags, take care when opening them, and be prepared for potential blobby drips. The best thing to do is to open both caps to even out the pressure in the marker barrel. I hope that helps! Dawn