Darcie’s Heart & Home – Get Well Wishes stamp set
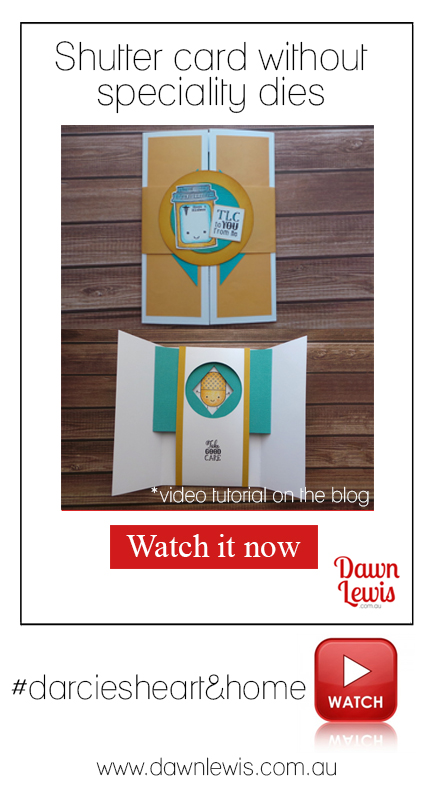
For todays project we are going to create a peekaboo ‘Shutter Card’, with pretty basic supplies, and no expensive specialty dies.
The measurements I’m using for this project is specific to Australian A4 cardstock, which is different to the USA A4 cardstock. I created a video about this a little while back, which you can view HERE.
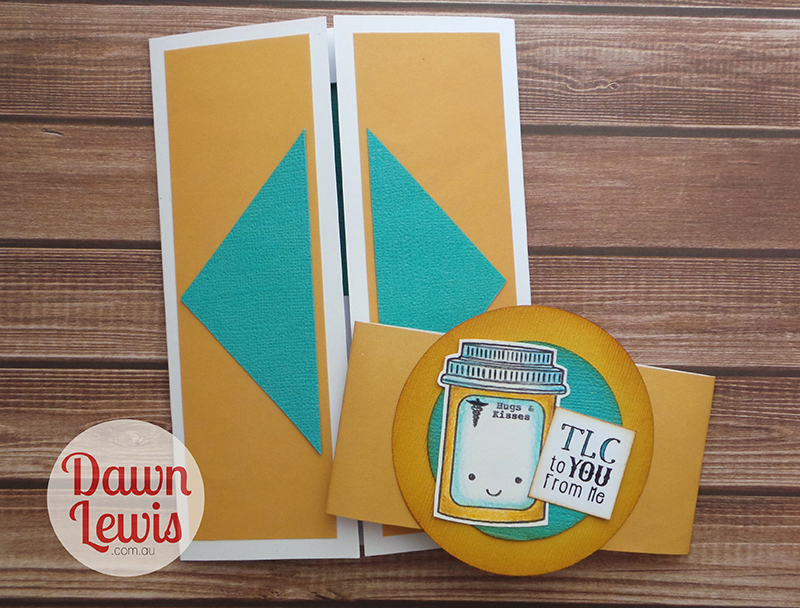
This is a gatefold card with a belly band, and I have used pre-coloured images (so there won’t be a colouring portion to this video). I coloured these images using my Prismacolor pencils, in front of the tv when I was feeling a bit blah … and I swear it made me feel better!
From a single sheet of A4 cardstock, there is very little waste in this project. Cut it in half to create two A5 panels … use one for the card base, cut into one for the centre interior panel, and the pieces that are left are perfect for creating mini cards, bookmarks or stamping additional sentiments.
I used the coloured images as inspiration for my colour choices, hence the yellow / turquoise combo. Not something I would normally choose, but I love the way it turned out! All cardstock and paper is from my stash, and I’m honestly beginning to wonder if I will cut into a brand new sheet of paper at all this year!
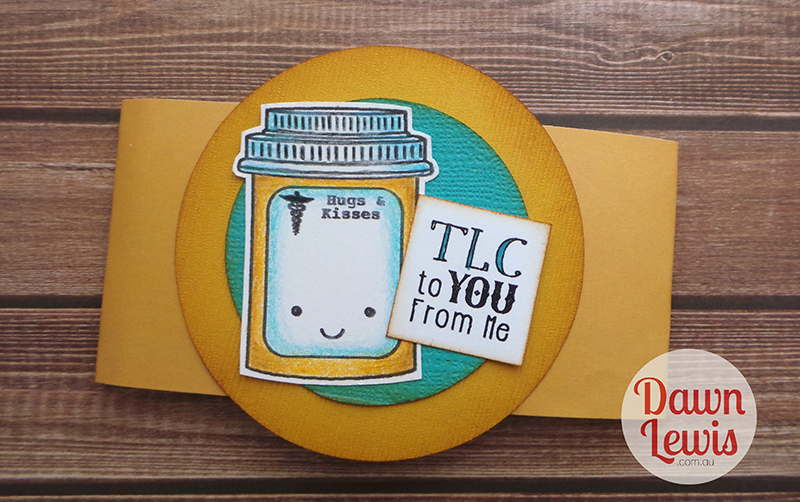
Instead of a belly band, I could have added the circle piece to one side of the gatefold card front. But due to the bulky nature of the shutter mechanism inside, I feel like the belly band was a good choice. I used pattern paper, but you could use a lightweight cardstock instead.
Here is a list of the materials I used for this project
A4 cardstock, white
Pattern paper (9″ x 2″), Yellow
Cardstock scraps (3.5″ x 9″), Turquoise
Cardstock scraps (3″ x 3″ and 1/2″ x 6″), Yellow
Stamps – ‘Get Well Wishes’, Darcie’s Heart & Home
Ranger Archival, Jet Black ink pad
Acrylic block or MISTI stamping tool
Circle die / circle punch / circle cutting tool
Ruler
Craft Knife
Cutting mat
Prismacolor Pencils
Copic BG09
Distress Ink, Vintage Photo
Distress Ink mini blending tool
Double sided tape, 6mm
Double sided tape, 3mm
Bone folder OR Teflon Bone folder
Xyron Adhesive Eraser
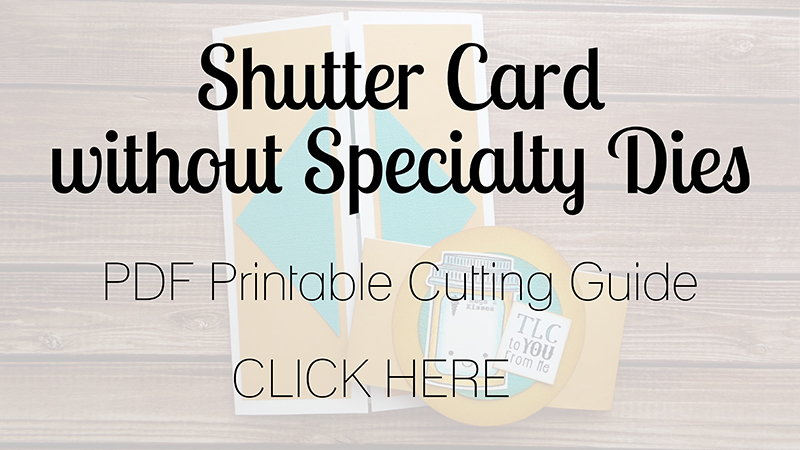
I have created a detailed cutting guide for you, just click the button below to download your own copy. It includes measurements and shows cutting lines. I have used colours the same as I used on my card, but you can use any colours you like to create your shutter card.
I have a couple of tips for you to make sure this card goes together as easily as possible.
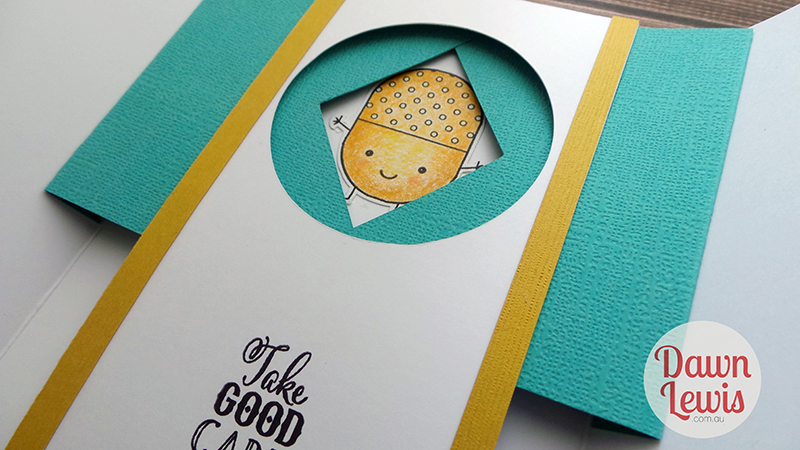
Shutter opening template
Use the cut-out circle from the centre panel to create a window template. Once the shutter pieces have been installed, open out the card, slide the circle shape underneath, and centre it as best you can. Trace around the inside of the shutter opening shape with a pencil, then remove the circle shape. Use a craft knife to cut out the shape. Now you have a window template to place over your stamp sets, which will help you choose an image that will fit inside the shutter opening perfectly!
Shutter template
Measure and cut one shutter template from stencil plastic or stiff cardstock, so you don’t have to do the measuring every single time you create one of these amazing cards.
Mind your internal measurements
Allow at least 1/4″ between the top of the card and the shutter mechanisms. To achieve this, the top of your cut-out should be 2cm below the top of the card.
Also … make sure that the centre panel is truly centred. Remember, there is a 1/2″ secured to the gatefold sections of the card, and they need equal room to fold in and underneath the panel, resting beside it when the card is closed. The centre panel can be narrower, but not wider.
Belly band
If you don’t wish to use a belly band, you can add your decorative piece to just one side of the front gatefold panels. Either way, be mindful of where your adhesive goes so parts of the card don’t stick together where they shouldn’t.
I do hope you enjoyed this interactive shutter card tutorial. If you make one, I would really love to see it! You can send me a pic via email or PM on my Facebook page HERE.