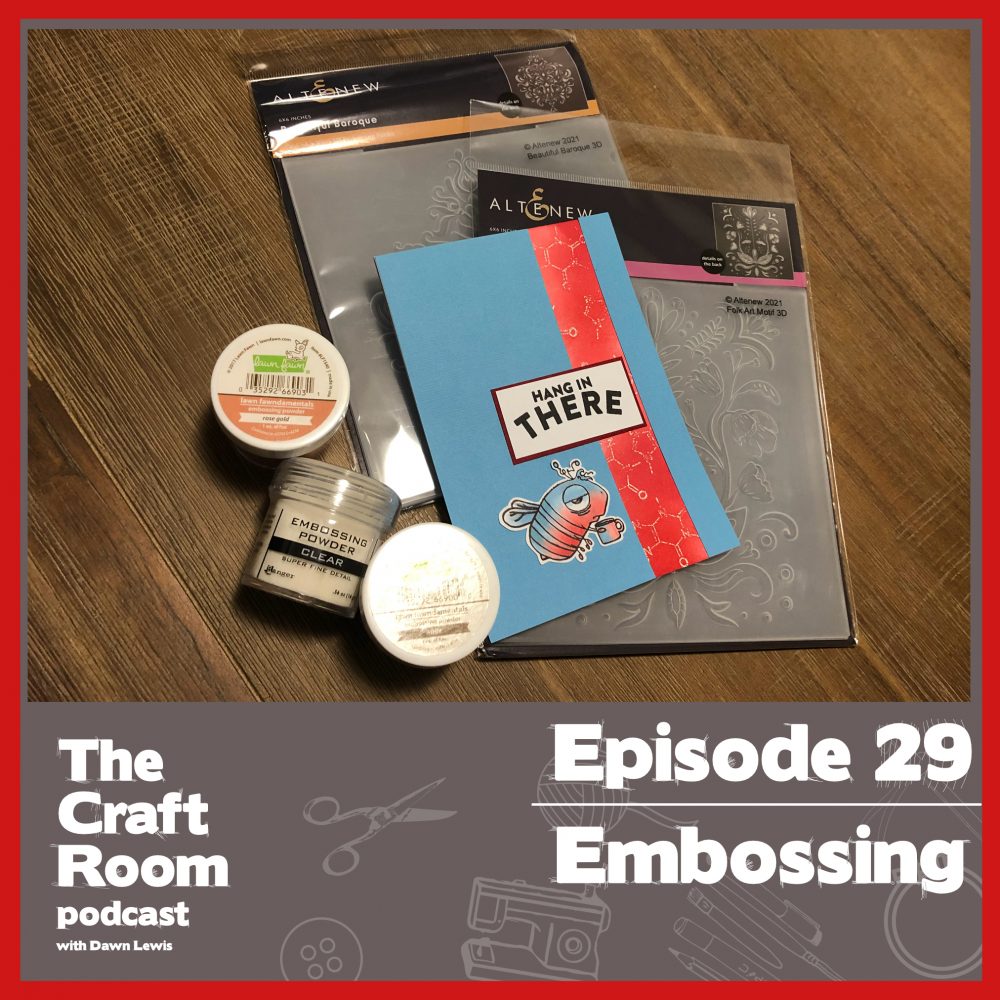
Today, let’s talk about embossing. Breaking it down to bare basics, embossing refers to a technique resulting in a raised area on your project. For those of us in the paper-crafting world, there are two main methods of embossing that we can achieve an embossed effect. There’s dry embossing and heat embossing. They use very different methods and products, and there’s a distinct difference between the two. So, if a crafter in your life has hinted at a gift of embossing goodies, it’s important to know which method they’re referring to. Let’s talk about the differences between them.
Dry Embossing
For dry embossing you’re compressing and molding cardstock by applying pressure to achieve a raised, textured surface. This works best with thicker cardstock. You definitely do not want to do this with thin paper. Paper is not always robust enough to handle the manipulation that happens with raised dry embossing. Cardstock 200gsm or upwards will handle raised embossing just fine. When you are using a 3D embossing folder you especially want a sturdy cardstock that is going to handle that kind of pressure. There are a few ways that you can achieve a raised dry embossed finish, so let’s talk about different products and techniques.
Embossing folders
If you have a die cutting machine be it a hand-cranked machine like the Big Shot or Spellbinder, or an electronic machine like the Gemini, Vagabond or Empress, then you can use embossing folders. Embossing folders are hinged plastic with a raised design on one side that fits into a concave version of the same design on the opposite side. They are inexpensive, they are quite robust and there is a huge variety in the designs available. There are two different types of embossing folder … regular and 3D, and the detail on 3D folders coming out at the moment (I’m looking at you Altenew) are seriously impressive.
Depending which type of embossing folder you are using and which machine you are using, the sandwich type will vary. It is best to check the instructions for your embossing machine, and if in doubt, refer to YouTube. The first embossing folder I tried to use in my Gemini was a 3D embossing folder. Because it didn’t have any packaging I didn’t realise it was a 3D folder, so I attempted to use the sandwich for a regular embossing folder. It did not work. The lesson here is not to force an embossing folder through your machine. If it won’t go through with ease, try a different sandwich with less bulk. A 3D embossing folder will be thicker because there are more layers inside the folder. What I will say about 3D embossing folders is that in the two and a half decades that I have been crafting, this is the one thing that has impressed my husband above all other crafting things. I used a paisley design 3D embossing folder on some simple purple cardstock, and he showed it to everyone who came to visit. He has declared it to be all kinds of amazing.
To use an embossing folder, simply open it up (all embossing folders have a hinged edge, usually on one short edge), place your cardstock inside the folder, close it up and then run it through your machine. When it comes out the other end, remove your cardstock to see your embossed design. On one side of the cardstock the design will be raised up … that is the embossed side. If you flip the cardstock over, the same design will be pressed downward … that is the debossed side. Neither is right or wrong, it just depends on the look you want. The beauty of an embossing folder is that you can achieve an embossed and debossed version of the same design.
When it comes to embossing folders, it is very easy to get carried away as you build your collection. There are hundreds of designs, and their great price point makes them very affordable. Quite a few years ago at a big craft show in Sydney I came across a bargain bin with a LOT of embossing folders. I bought loads of them. Do I use all of them? No. Some remain unused, and that’s for a variety of reasons, but the fact that I don’t use many of them means they weren’t exactly the bargain I thought I was getting. We’ll talk about bargain bins another day, though, because that’s a whole other thing! My point is that there are so many different designs, but what we will benefit most from is seeking out designs that we know we will use many times over, for different occasions, themes and projects. Honestly my favourite one is swiss dots, which are tiny raised polkadots, because it gives some subtle texture to a plain background.
Mouse Pad + Stencil + Stylus
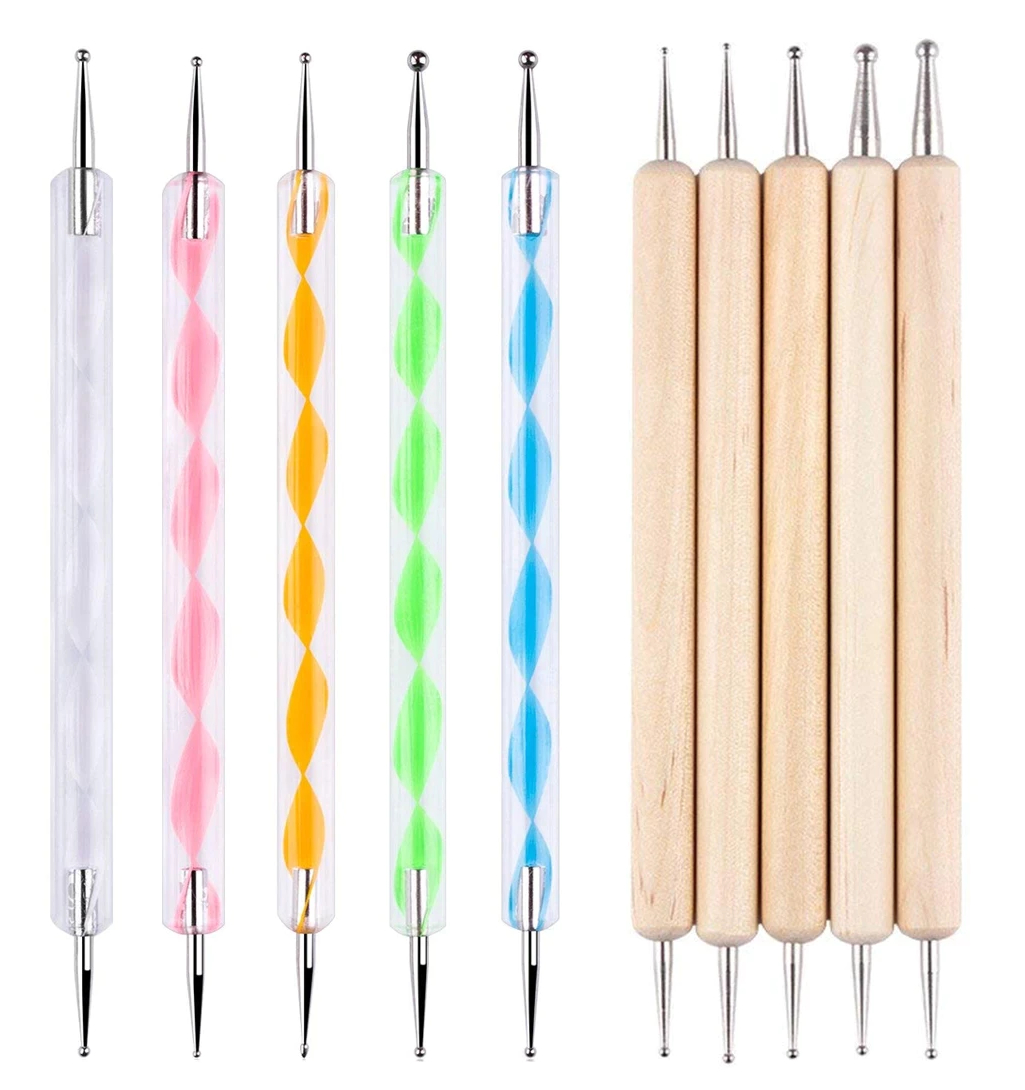
The next technique for dry embossing utilises a mouse pad, stencil and stylus. To do this technique, lay down a mouse pad (or similar thick foam) on your work surface, place your cardstock on top, then place your stencil with the design where you wish it to be on your finished project. Use the stylus to trace around the stencil edges with light pressure (start light, because you can always press harder, but you don’t want to punch through the cardstock by pressing too hard to start with). If you’re unfamiliar with a stylus tool, it’s commonly used in nail art. It’s kind of like the barrel of a pen, but instead of an ink nib at one end and cap on the other, there is a metal ball at each end (usually 2 different sizes). I mentioned this method in the previous episode about stencils, which I’ll link to in the show notes in case you missed it. This is a great way to stretch your stencils further and get more use out of them, and it works particularly well with detailed designs.
If you’re using an alphabet stencil, and you want to utilise the raised (embossed) side on your project, you need to flip your stencil upside down and work right to left. Trust me … I learned that the hard way by embossing with the stencil right side up from left to right, and when I flipped it I had a mirror image. That’s the kind of thing I try to do only once, and I’m happy for you to learn from my misadventure! I mean, I still used it, just with a ton of foam tape as a debossed word instead.
There is an alternative to this method, where you don’t use a mouse-pad, and a light box can be helpful for this one. If you have two identical stencils, this will work. There was a tool by Fiskars called the Shapeboss, which I purchased back in my scrapbooking days. It worked with this principle … peg down 2 identical stencils, slide the cardstock in between, and use the stylus-like tool to trace around the stencils to create a raised embossed design. Back when it was new, it was quite expensive, and you had to buy the special 2-pack ShapeBoss stencils to use in it. I didn’t end up using it as much as I thought I would, so I sold it on to make space under my tiny crafting desk. You don’t need this tool to use this method, though. Two identical stencils, some tape and a stylus, and you have yourself a good Shapeboss dupe! It doesn’t have to be plastic stencils. I have used this technique with little brass stencils as well. In reality, this is really the best option if you have an endless budget for duplicate stencils, or a cutting machine where you cut your own stencils, like a Cricut or Scan N Cut. And if you don’t have a light box, a nice bright window will do in a pinch with some washi tape to hold things where they need to be.
Heat Embossing
The first time you see embossing powder melt, it’s like a magic trick. Your eyes can barely comprehend what they’re seeing.
Of course heat embossing still gives you a raised embossed design, but it is achieved in a completely different way. There are a lot of ways you can do heat embossing, and quite a few different ways to get your design started. You can use stamps, stencils, dies, or even draw your design with a special type of pen or marker. You need a clear sticky slow drying ink, like Versamark or Distress embossing ink (which is what I use). You can even get embossing ink pens, including Versamark or Lawn Fawn brands. Pigment ink pads are also suitable, because pigment ink is slow-drying also.
The next thing you need is embossing powder, which is available in different grades, colours, finishes and effects. We’ll go into that in more detail later.
You need a heat source.
It is also important to prepare your work surface. I usually work over an empty container (that I use to store my favourite embossing ink jars in) or a piece of printer paper that has been folded in half then opened up flat. This will become clear shortly.
To heat emboss you need to apply your sticky ink to your cardstock, and there are options here. You can ink up your stamp and stamp onto your cardstock. You can lay down your stencil and apply your clear ink over the open design or trace around the stencil with your embossing ink pen. You can even ink up the raised part of a die and stamp with that (or run it through your die-cutting machine with an embossing mat for a letterpress look). You could even draw a freehand design with your embossing ink pen.
While your ink is still wet (and depending on your ink, you may need to work in sections) apply your embossing powder. Open your jar of embossing powder. Hold your inked up cardstock over your container or piece of paper at an angle, and pour the powder over the embossing ink, allowing the rest to fall onto that piece of paper or into the container. Tap the sides and back of the cardstock so that any loose powder falls off, and you can brush any flecks of power in unwanted places off your cardstock using a small dry paintbrush.
When we are heat embossing we don’t waste that embossing powder! We use the container or fold in the paper as a funnel to pour the excess powder back into the jar. I still have embossing powders I first bought close to 30 years ago. Even though I usually pour out half the jar, because so little of the powder sticks to the ink, it will last for many, many years. We don’t throw it away, or wipe it up or dump it in the bin … we re-use it over and over.
It’s important to remember not to touch that powder yet, because it hasn’t been set, and it will brush away easily. We need to apply a heat source, like a heat tool. There are a few different types of heat tools, and most commonly they’re either long and thin or look like a travel hair dryer. If you’re wondering if you can just use your hairdryer, the answer to that one is no. No you can’t. The air is too strong and it will just blow all of the embossing powder away, and the heat isn’t strong enough to melt the powder. If you don’t have a heat gun, and it is out of your budget, you can still emboss, though, and I’m going to share my secret heating tool.
When I first bought my embossing powders I didn’t have a heat tool. They weren’t readily available, and the only ones that existed were at hardware stores, used for stripping paint. They were overpowered and expensive, therefore not feasible. Instead, I used our toaster! I used the toaster for many, many years to do embossing.
No … I did not put it in the toaster like a piece of bread. That’s not how it works. There are a few steps you need to follow, and I will walk you through it.
- Clean the toaster out. Remove the little tray at the bottom, brush or wash off all the crumbs. Also turn the toaster upside down over the bin or sink and shake & tap out as many crumbs as you can. You are going to be turning it up to the highest setting … it’s going to be on for a long time, and you do not want the house smelling like burnt toast, or worse, the smoke alarm going off. So empty out those crumbs!
- Take a photo of the toaster setting or mark it with a piece of tape or whiteboard marker. You know how you have that perfect toasty setting that you like set on your toaster. You’re about to crank that up to the highest setting for embossing, and in all that crafting excitement, are you really going to remember what the perfect toast setting was before you started? Probably not. So make a note before you start.
- Make sure you’re working in an open area. You don’t want to be working with a shelf directly above the toaster, because it’s going to get really really hot. You don’t want any heat damage to the shelf above, so get it out in the open.
- If you’re thinking that you’re going to heat this with the embossing powder side facing down toward the heat, then think again because that’s not how this works. We’re going to heat from the back. This allows you to see the embossing powder as it melts, so you can heat it evenly and remove the cardstock from the heat when it is done (overheated embossing powder isn’t pretty, nor is scorched cardstock).
- Use a tool to hold your cardstock, and make sure that it’s heat-friendly. Metal is a bad idea, and if you’re using something wooden, be very careful that it’s not catching too much heat. Silicone tongs are a good place to start, or tape your smaller embossed piece of cardstock to a larger, long piece that you can use as a handle.
- Don’t hold the cardstock in one place, you want to move it around. It’s going to take time, but keep your eye on the powder. As the toaster really starts to heat up, you’ll discover where the best hot spot is that melts your embossing powder evenly.
- Be aware of your toaster. When you press the button down, you’re going to be so focussed on watching the powder melt, and seeing how many embossed designs you can heat, that you will forget that when it comes to toasters, what goes down must pop up. It will scare you. Every single time.
I will make a video about this and add it to YouTube, TikTok, Instagram, etc. Using a toaster is a great option when you’re crafting on a budget, or deciding if heat embossing is something you enjoy. Yes, a heat tool is less fussy (and it doesn’t smell like burned toast), but it can be a big purchase when you’re starting out, so the toaster will let you test the waters when it comes to heat embossing, without incurring extra expense.
Let’s talk about the different types of embossing powders available, because there are SO MANY! There are different grades, like super fine embossing powder, standard or UTEE (ultra thick embossing enamel). Then there are the different finishes, like glitter, shimmer, pearl, transparent, metallic, glow in the dark and opaque. There are specialty powders like Distress Ink Glaze (a tinted transparent shiny finish) and mixed colours like the Wow Trio, Ranger Speckle or Mixed Media powders.
Different powders are great for different jobs. For example if you want to create a stamped, heat embossed sentiment with a small or detailed stamp, I would be using an ultra-fine powder so that the details are crisp and clear. When that powder melts the same sentiment will be easy or difficult to read, depending if you used an ultra-fine or ultra-thick powder.
The UTEE (ultra thick embossing enamel) powders do a great job at creating faux metal finishes as they are nice and smooth with a single application. An ultra-fine or regular embossing powder will need to be applied several times to achieve the same result as a single layer of UTEE. Another of my favourite uses for UTEE powders is to cover a die-cut shape or word to make it shiny.
Embossing powders come in MANY colours, but when you’re on a budget, where do you even start? I know I wanted all the colours, but it just wasn’t in my budget, nor did I have the space to store all those jars. Instead I realised it was more affordable to buy mini pigment ink cubes and one jar of clear embossing powder. Then I could stamp with any colour, and emboss clear over the top, so my stamped image could be any colour I liked with that lovely raised glossy finish. I added a clear glitter embossing powder to that collection, and it was divine! At the time the ink pads were about half the price of the embossing powders … much better bang for my buck.
If you’re wondering about the basics when first buying some embossing powders, I would recommend clear, white, a nice metallic (gold or silver) and the Hero Arts White Satin Pearl powder. I will link to my favourites in the show notes. I still like my glitter embossing powder, because once that glitter is melted into the embossing enamel, it’s not getting all over my hands. I like the look of glitter, but I do not like it all over my clothes, floor, furniture, house and my cat!
Techniques
Emboss Resist
I like to start with watercolour paper, and add a nice water reactive ink (like Distress, Distress Oxide or Simon Hurley ink pads), or my favourite watercolour pencils. Usually I’ll take a big background stamp and stamp with clear ink (or a white pigment ink) on the watercolour paper, and emboss using clear or white embossing powder. To be safe I always use ultra-fine. Once that is heat set, you can’t really see it, but once you start applying ink over the top with an ink blending tool or brush, you see that the heated embossing powder will resist the colour and the cardstock underneath remains white. I also like to work on a non-stick surface, like a craft mat, Waffle Flower Media Mat or my Tim Holtz Tonic Glass media mat. I can tap my water reactive inkpad onto my craft mat and spritz it with plain water, or to add a little spice I keep a mini mister on my desk with pearlised water that I created by adding a little Perfect Pearls into the water. A favourite technique is to dip the cardstock onto the ink puddle, embossed side down, and let the ink create something arty and beautiful. I feel like the results differ between heat setting and allowing the ink to dry naturally … I prefer air drying, but it’s hard to be patient! Once it is dry, or when I’m done with the ink blending tool or brush, I just wipe over the surface with a clean cloth so that any ink on top of the embossing powder is removed and the stamped image remains shiny and crisp.
There is a lift technique you can do where you place another piece of cardstock or paper on top of this piece, and you can lift the embossing powder away. This can result in an interesting two-for-one print situation, and I’ll link to one of Jennifer McGuire’s videos where she shows this clever technique.
Emboss resist is also one of my favourite ways to colour a detailed stamp quickly with watercolour, be it a palette, ink pads or pencils. It’s a refreshing change of pace from Copic markers, and the raised embossing creates a little wall around each area so the watercolour stays where it should be. I love using my Abstract Triangle background stamp from Darkroom Door, and once it has been heat embossed, I colour one edge of each triangle using my full rainbow set of Jasart watercolour pencils. Then I can just use my aqua pen (water filled brush marker) to blend out the pencil for a stunning rainbow look.
Sentiment Strips
A very popular use for embossing powder in card-making is to stamp a small sentiment on a strip of black (or dark) cardstock, and an ultra-fine white embossing powder is perfect for this. If you want the opposite look, to have a black heat embossed sentiment on white cardstock, you may be thinking you need black embossing powder, but you don’t. Just stamp with a black pigment ink (pigment inks are slow drying, therefore perfect for heat embossing) and clear embossing powder. Clear powder is so versatile!
Glossy Die-cuts
If you want to take a die-cut shape or word and make it glossy, simply lay it down on a piece of scrap paper, press your clear sticky ink over the top, then apply your embossing powder and heat set. This is a great way to stretch those embossing powders further. I will say that ultra-fine or regular embossing powder does tend to be a little textured and dimply after the first application, so if you want it to be nice and smooth, simply repeat the application of embossing ink, then embossing powder and heat again, cooling between layers. Three times is usually the charm, plus it gives the added bonus of a nice curved edge around the die-cut shape, making it look like an expensive store-bought embellishment.
Tools
The last thing I will say about heat embossing is that there are some helpful tools and accessories that will help you achieve great results and make sure your fingers aren’t burnt in the process.
Anti-static powder bag or tool – this simple, inexpensive tool will discourage your embossing powder from sticking anywhere it shouldn’t. Simply apply by patting the bag or tool over your cardstock before stamping, and it will neutralise any oils from your fingers and create a clean surface for stamping. I will link to a great anti-static powder bag by Ranger, and a hot tip is to create a little handle by clipping the ends together with a mini bulldog clip. If there is a white powdery residue left on dark cardstock, you can wipe it away with a clean cloth when you have finished with your heat embossing.
Reverse tweezers – holding your cardstock piece with your fingers can lead to discomfort or even a nasty burn. By using a tool like tweezers to hold the cardstock, you keep your hands safely away from the heat. I’m a fan of the i-Crafter reverse tweezers, as they have a silicone section for holding (great for heat safety around metal tweezers), and if you’re wondering why they’re called reverse tweezers, it’s because you squeeze them to open, and when you release pressure they clamp together. I’ll link to the i-Crafter Reverse Tweezers in the show notes.
A heat-proof surface – Watching embossing powder as it heats and melts is mesmerising, and if all of your attention is on the melting magic in front of you, you may not notice your surface becoming damaged from the heat from your heat tool. I work on my Tim Holtz Tonic glass media mat, but I also have a small chopping board (with a built-in handle) that I use as well. I got it from IKEA, and it stores away easily under my desk. I can hold the chopping board up away from my desk and move it about easily.
Hopefully this has helped if you ever wondered what the difference was between heat embossing and dry embossing. Of course these are popular for card making, but you can use both methods for other paper crafting projects, like art journals, mixed media projects, scrapbooking, invitations, gift tags & wrapping and home made stationery. I see a lot of small business owners on TikTok who are having custom logo stamps made up so they can stamp and heat emboss their logo inexpensively on their packaging … very clever.
I hope I’ve inspired you to give embossing a try. Whether it’s an embossing folder or heating up embossing powder over a toaster, I hope you add some texture or shine to your life and most importantly, have some fun in the craft room
Links
Toaster embossing video
Hero Arts White Satin Pearl embossing powder
Jennifer McGuire heat embossing playlist
Jennifer McGuire embossing folder playlist
Mary Polanco blender brush video
Antistatic Powder Bag