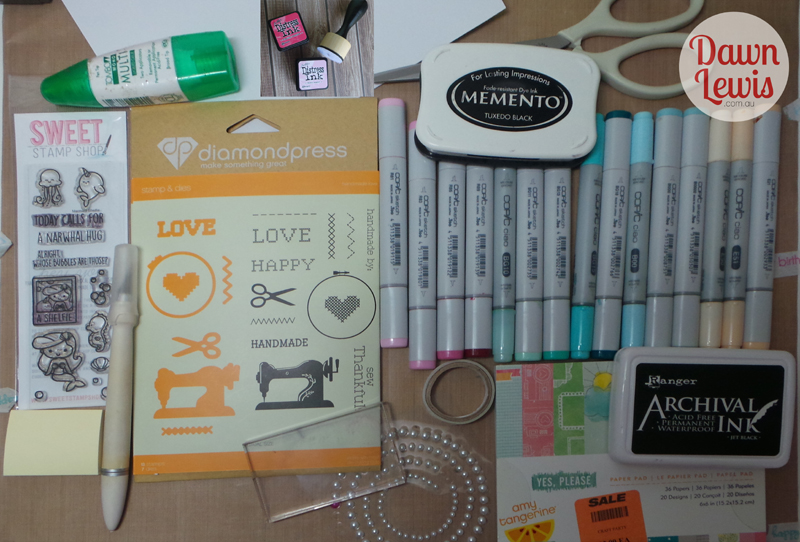
Take a look at these fun ingredients … these are the goodies I pulled together to make this adorable Shelfie Hoops card featuring Sweet Stamp Shop’s ‘Mermaid Shelfie’ stamp set, coloured with Copic markers.
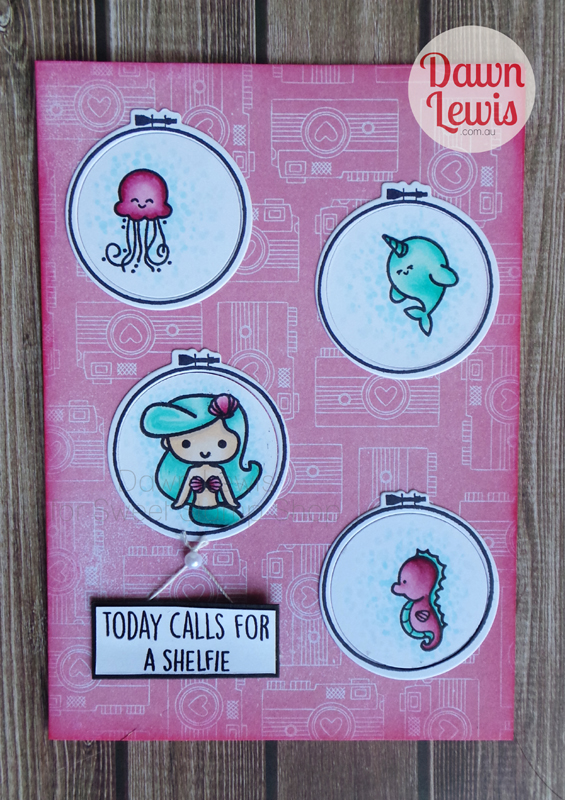
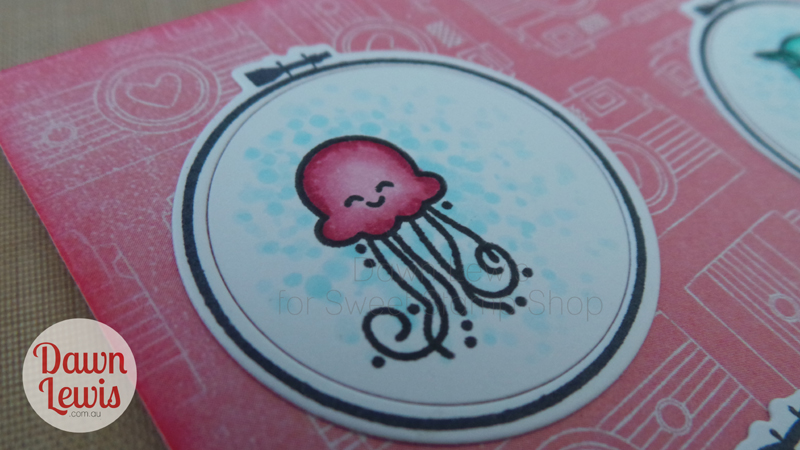
When you put them all together … this is what you get!
Now, you didn’t think I’d just show you the pretty card and not provide a list of ingredients AND a video did you? I wouldn’t do that to you!
Let’s talk ingredients … as per the photo up there
White Card base 10.5cm x 14.8cm (folded in half)
6″ x 6″ paper pad, Amy Tangerine ‘Yes, Please’
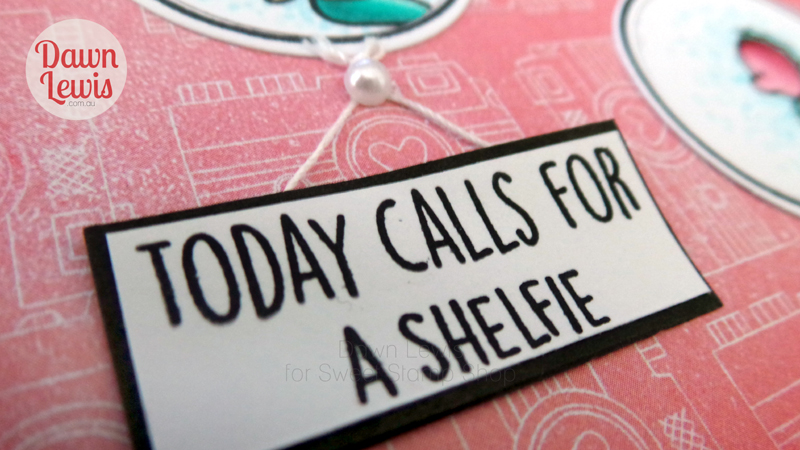
Stamps: Sweet Stamp Shop ‘Mermaid Shelfie’ + Diamond Press ‘Handmade Love’
Black Ink pads: Memento Tuxedo Black + Ranger Archival Jet Black
Distress Inks: Spun Sugar + Festive Berries + foam blending tool
Acrylic block
Adhesive pearls
Double sided tape
Tombow Monoadhesive glue
Scissors
Sticky notes
Craft Knife
Non-stick craft mat
Self healing cutting mat
Copic Markers
Skin: E50, E51, E21
Aqua: BG10, BG11, BG13, BG15, BG18
Pink: R81, R83, R85, R89
Blue: B0000, B000, B00
I have to admit … I’ve been eyeing off the Diamond Press ‘Handmade Love’ set for a long time at Spotlight. I finally gave in and bought it when I received a 30% discount voucher. Straight away I realised that the gorgeous little images in the Mermaid Shelfie set would fit inside those hoops perfectly. It was an absolute bonus when I found the right shade of pink pattern paper in that Amy Tangerine paper pad AND it had little cameras on it!!!! There are a couple of tricks I used when die-cutting the hoops, so watch for those in the video.
You can find the Mermaid Shelfie stamp set in the shop HERE.
You can find Copic markers in the shop HERE.
Now is the show you’ve been waiting for … the video tutorial showing how I made this card from start to finish. Enjoy!