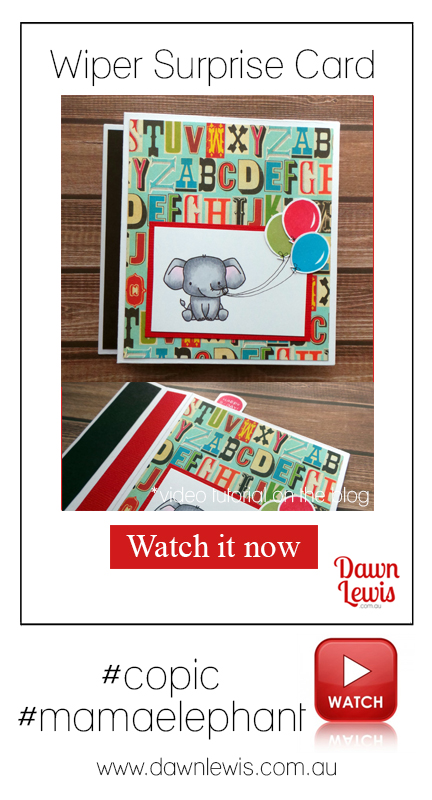
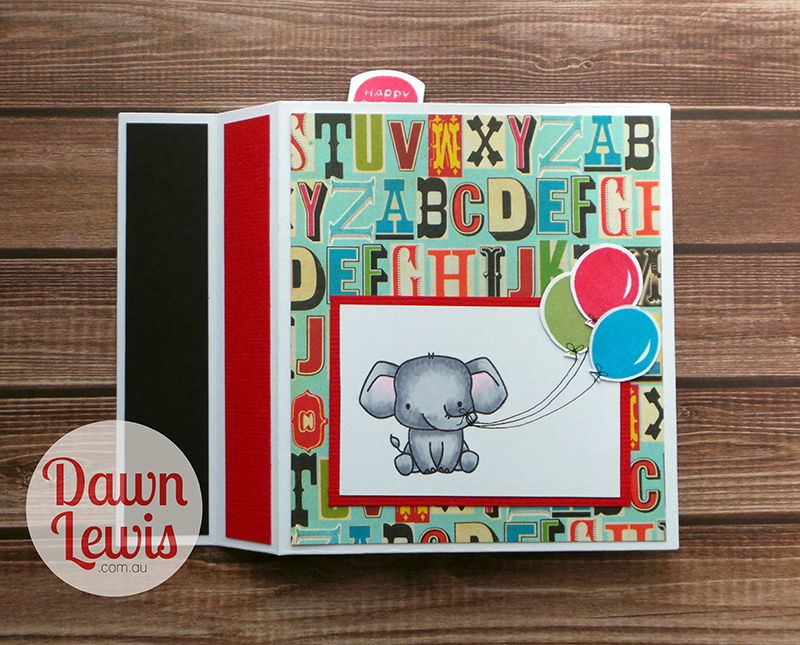
For todays project I have a video that walks you through the new Mama Elephant ‘Wiper Surprise’ creative cuts (die) set. This set makes a fun interactive card known as a ‘wiper card’. When you pull the sides, a little surprise pops up from inside the card … a delightful little surprise!
There are a few ways you can customise this set, but I wanted to show you the difference between the wiper arms / pop up pieces, and run through a few do’s and don’ts when using this die.
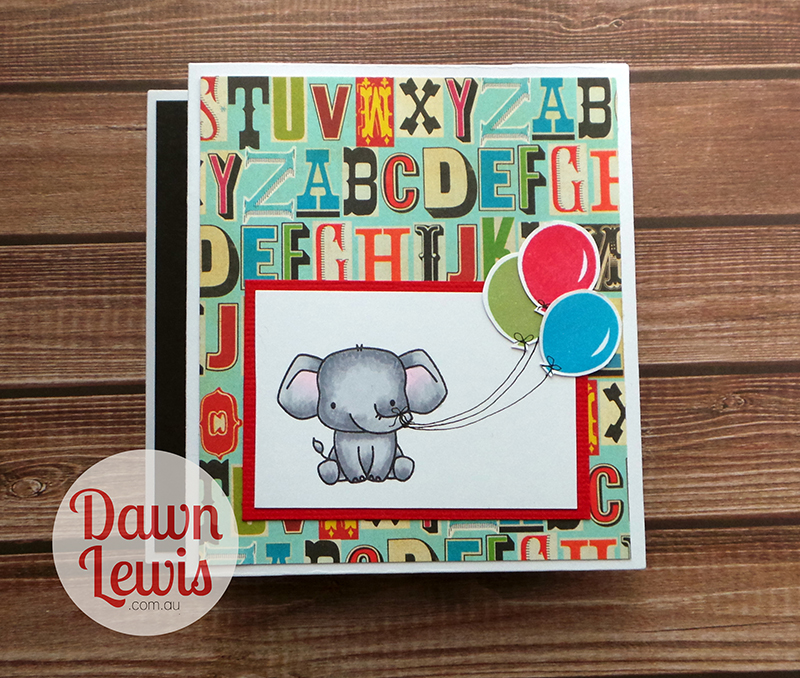
Yes, you can use a wave, cloud or hilly die to create a scene on the front of your wiper card, but you can also just use a plain front and back piece and decorate simply with a sweet design.

Materials
Die set – Wiper Surprise (Mama Elephant)
Stamp set – Stackable Cuties (Mama Elephant)
Copic – RV10, C1, C3, C5
Memento Tuxedo Black ink pad
Dye ink pads – red, green, blue
Copic multiliner 0.1, black
Pattern paper – 3.5″ x 4″ (10.3cm x 9cm)
Black cardstock – 4″ x .75″ (9cm x 2cm)
Red cardstock – 4″ x .5″ (9cm x 1.4cm) AND 2 13/16″ x 2″(7.2cm x 5cm)
White cardstock – 2.75″ x 1.75″ (6.7cm x 4.5cm)
6mm double sided tape
Acrylic block or stamp positioning tool
Small / fine scissors
Note – If you are colouring with Copic markers, XPress It Blending Card is the best option for white cardstock.
Now let’s take a look at the video, and I hope you enjoy this tutorial.
Thanks so much for joining me today, and I hope you’ll have a go at making a wiper card yourself!

Very helpful Wiper tutorial.