Welcome to Day 3 of this seven part video series! Yesterday we explored ways to get the best value from your stamp sets by utilising the full layering capabilities of this stamp set. If you missed that video, you can check it out HERE.
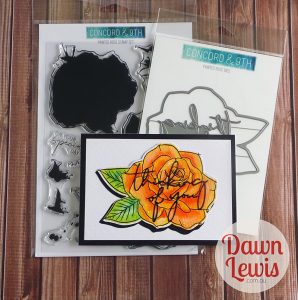
All week I will be featuring the gorgeous Painted Rose stamp set by Concord & 9th, showing different techniques and ideas to get the most from this flexible stamp set (and matching die set). I don’t often spring for matching dies, but the incredibly intricate sentiment die included in this really appealed to me. I like to send cards to let my friends know that I’m thinking of them … so how could I not love this opportunity. The rose die does a brilliant job of cutting the entire hero image, whether you’re using the layering stamps or just the outline.
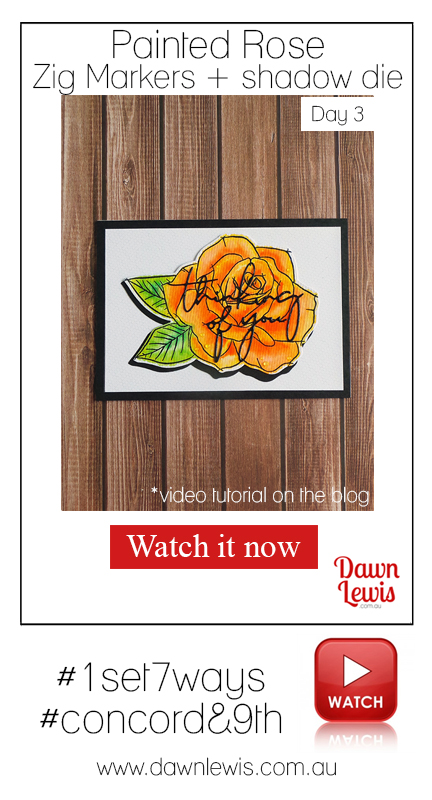
In today’s video I’m going to show you how I used the rose die to create a drop shadow effect, as well as colouring using watercolour markers (which requires a lot less time and precision than Copic markers!).
LESSON 3 – Dies don’t always have to be used for cutting out a coloured image. I have used the rose die to create a drop shadow effect, but you could also cut a number of dies from the same colour cardstock as your background and create a tone-on-tone effect with them. You could cut the rose die out of two different colour background pieces and do a little diecut inlay to create a colour-blocked background. See … I can’t stop thinking about ideas for this set!
The first thing I did was create a bold finish from an initially messy application of Zig Clean Color Real Brush markers. In the video I’ll talk you through the different methods I tried, finishing with the most efficient method.
The second thing I did was to create a drop shadow effect utilising the black cardstock that I cut from inside the frame I created for the card. It’s an economical use of cardstock that also helps cut down bulk. I also diecut the sentiment from the black leftover cardstock, which you can’t see because the chunk it took out of the drop shadow piece is hidden under the rose!
I really wanted to try a nonsensical colour scheme, with a different background, and you can see the bonus project (and materials list) a bit further down this blog.
MATERIALS LIST
Stamps: Painted Rose, Concord & 9th
Dies: Painted Rose, Concord & 9th
White card base (A5, folded in half)
Black cardstock A6
Pattern paper, 6″ x 6″
Watercolour paper
Ranger Archival Jet Black ink pad
Trimmer
Stamp positioning tool (mini Misti)
Double sided tape, 3mm
Double sided Foam tape 12mm
Tombow Monoadhesive liquid glue
Sizzix Big Shot die cutting machine
Ranger Glossy Accents
Nuvo Crystal Drops, Morning Dew
Aqua brush (filled with water)
Craft knife + self healing cutting mat + craft knife
Zig Clean Color Real Brush Markers
Leaves: 053 Yellow Green; 041 Light Green; 044 Deep Green
Rose: 050 Yellow; 052 Bright Yellow; 070 Orange; 023 Scarlet Red

MATERIALS LIST
Same as above, but substituting the sentiment with a stamped image from the Painted Roses stamp set and different pattern paper.
Zig Clean Color Real Brush Markers
Leaves: 041 Light Green; 044 Deep Green; 040 Green
Rose: 036 Light Blue; 031 Cobolt Blue; 032 Persian Blue; 035 Deep Blue
Now that you’ve read my first tip for getting the most value from your stamps, let’s start the show!
Thanks so much for joining me for this video series … tune in tomorrow for another hot tip to help you get more bang for your buck from your cardmaking supplies.